- Downloading the Apps
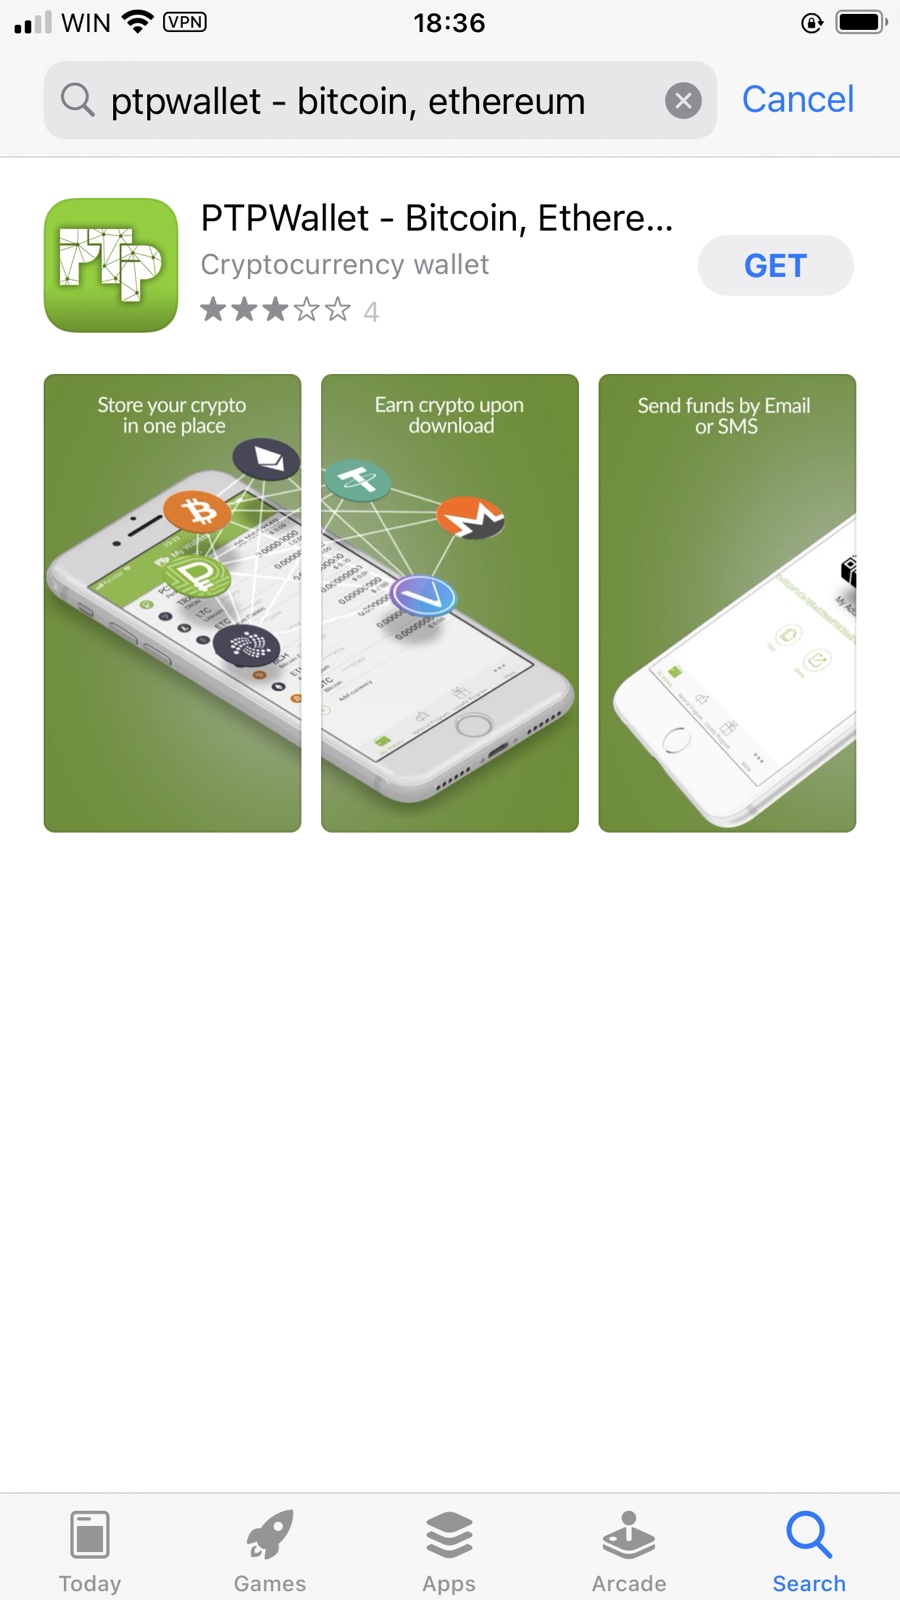
PTPWallet can be downloaded via either the iOS App Store or the Android Google Play Store. The platform can also be accessed via the web-based version. If you are looking to use the application on your mobile device, look for and click on the “Download on the App Store” button if you have an iOS Smartphone, and click on “Get It On Google Play” button if you have an Android.
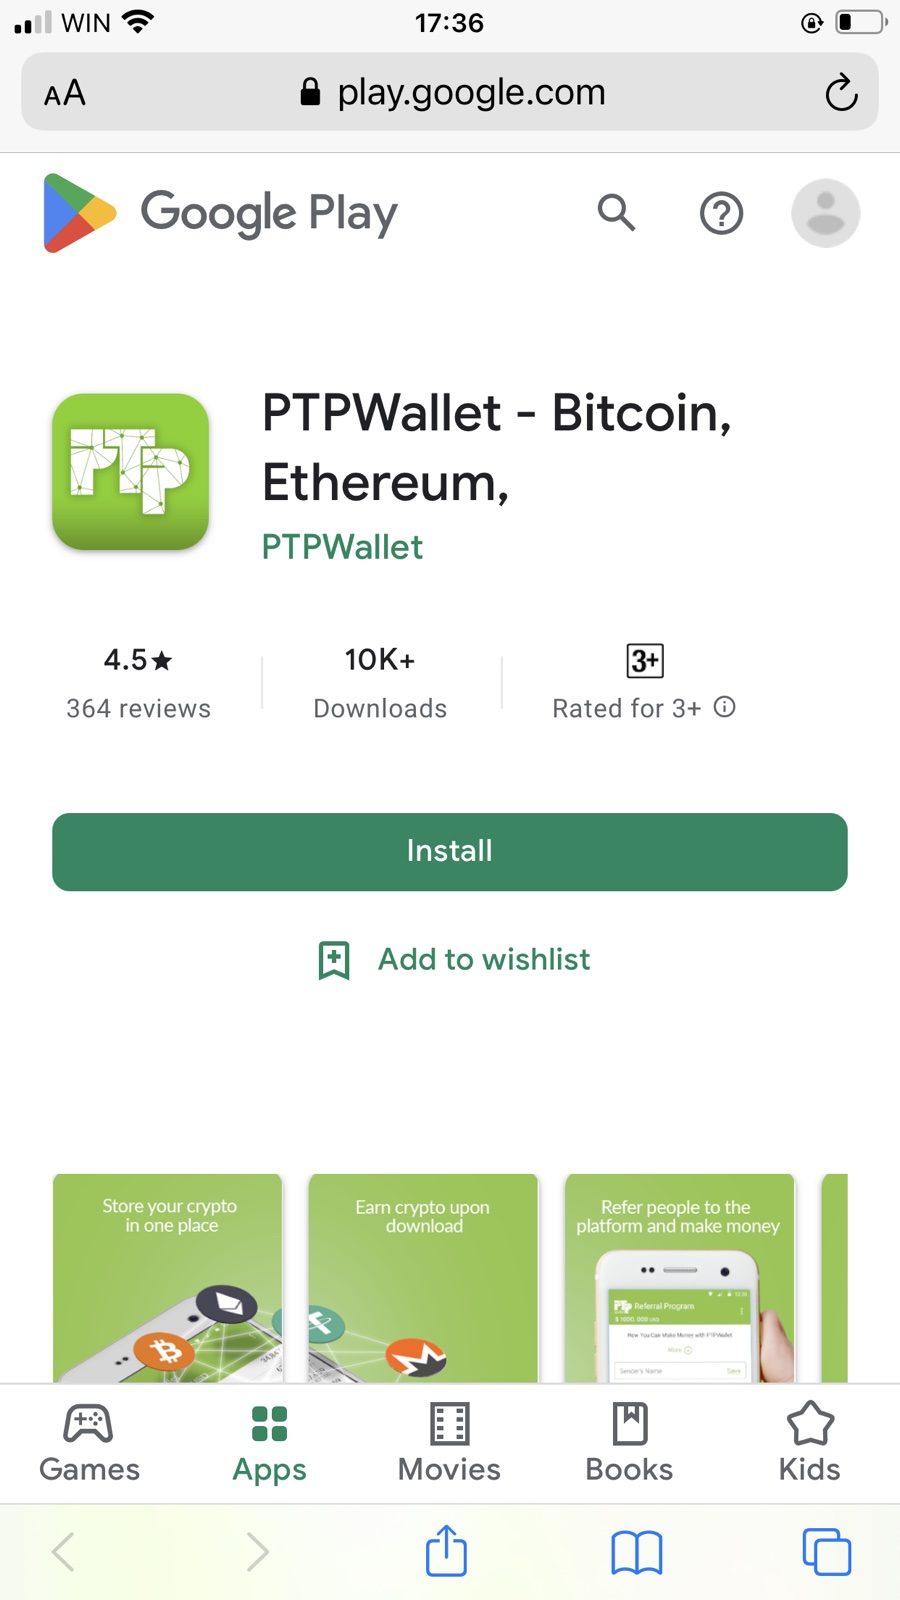
Below is how the page looks like on the Apple Store.
1.1 Getting Setup
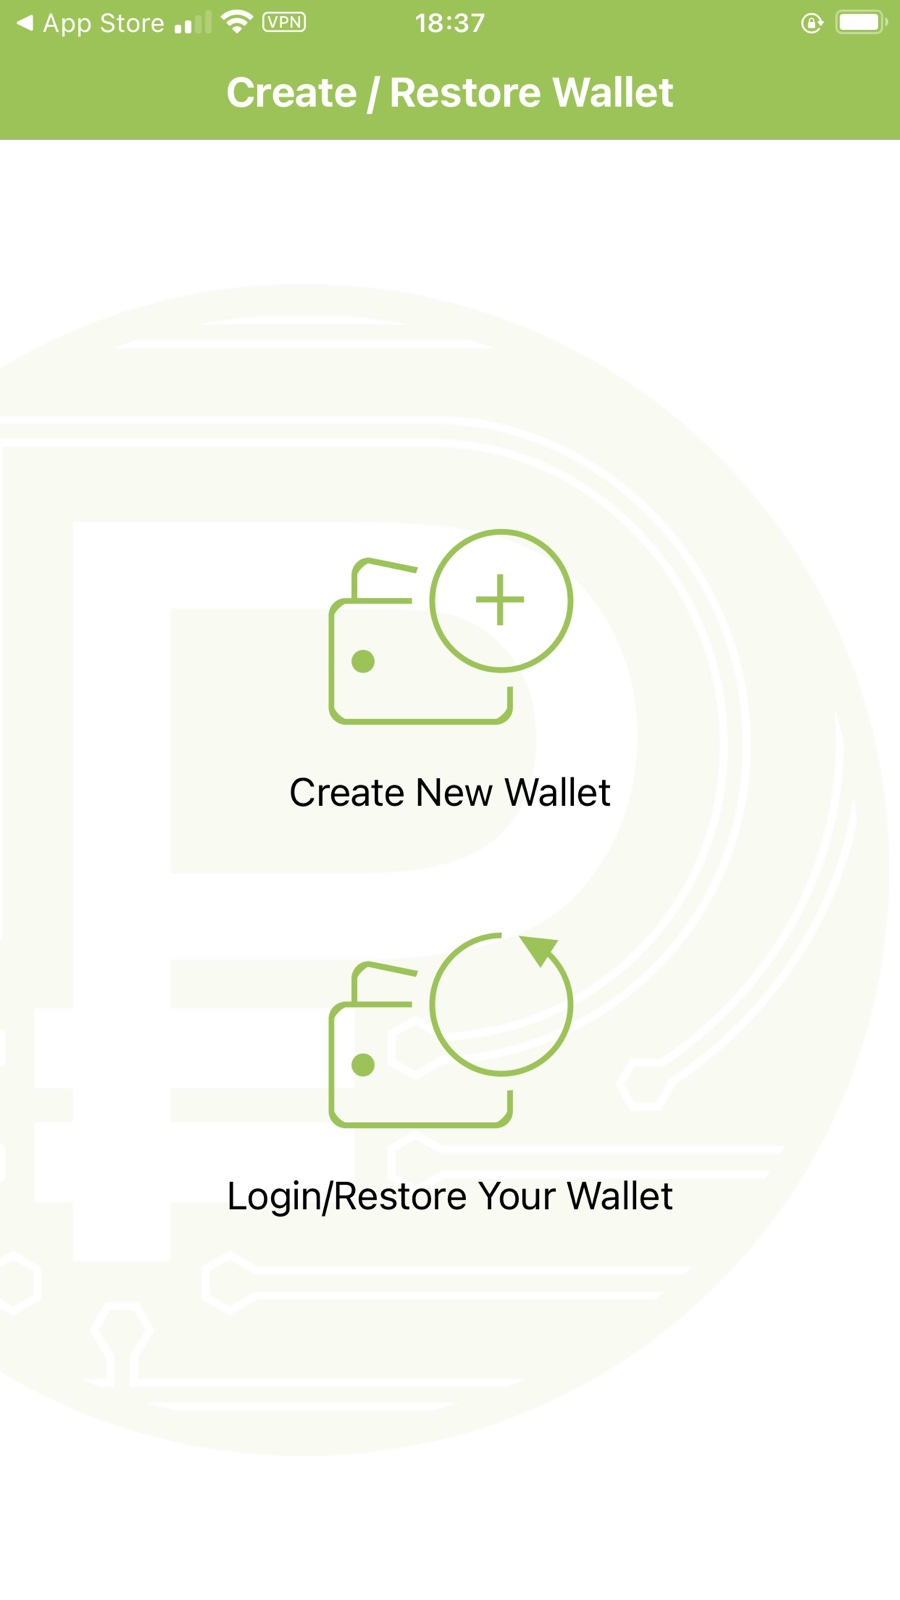
Once you have downloaded the application, you will be shown a screen depicting two sections – “Create New Wallet” and “Login/Restore Your Wallet”. Unless you have already downloaded and created an PTP Wallet account, choose “Create New Wallet” to create a new wallet account.
1.2. Reviewing the Terms of Use
Prior to proceeding, please make sure to review the “Terms of Use” of PTP Wallet. Check “I understand and agree to Terms of Use and certify that I am 18 years of age or older” once you have read & agree to the Terms. Click on the “I agree to Terms of Use” box to proceed with the next step.

1.3 Press “Create Passphrase”
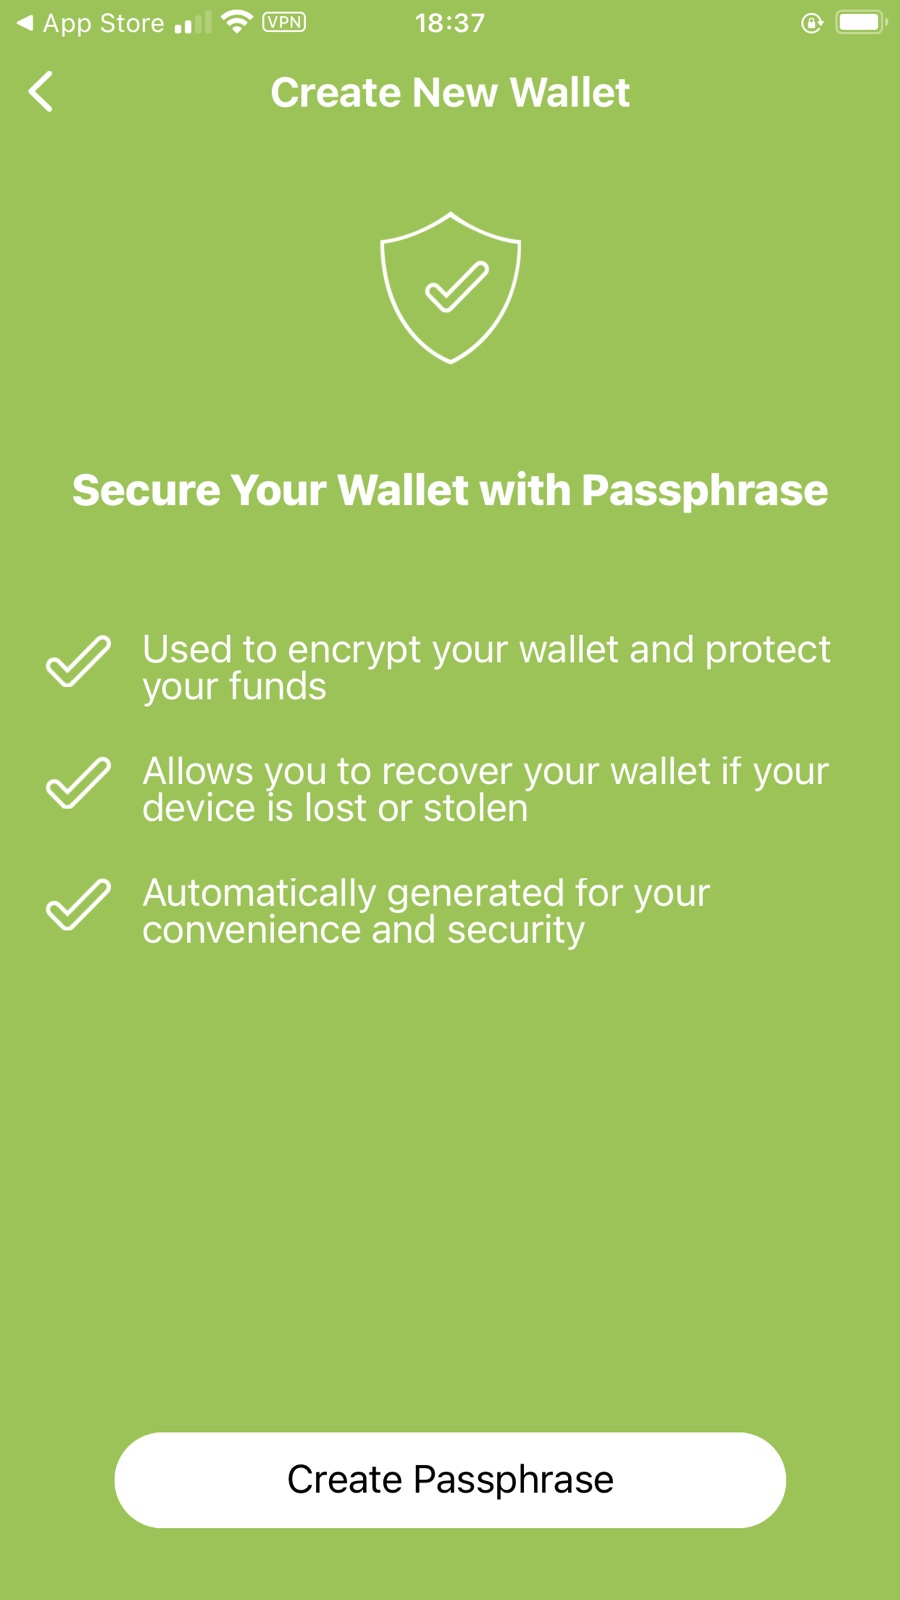
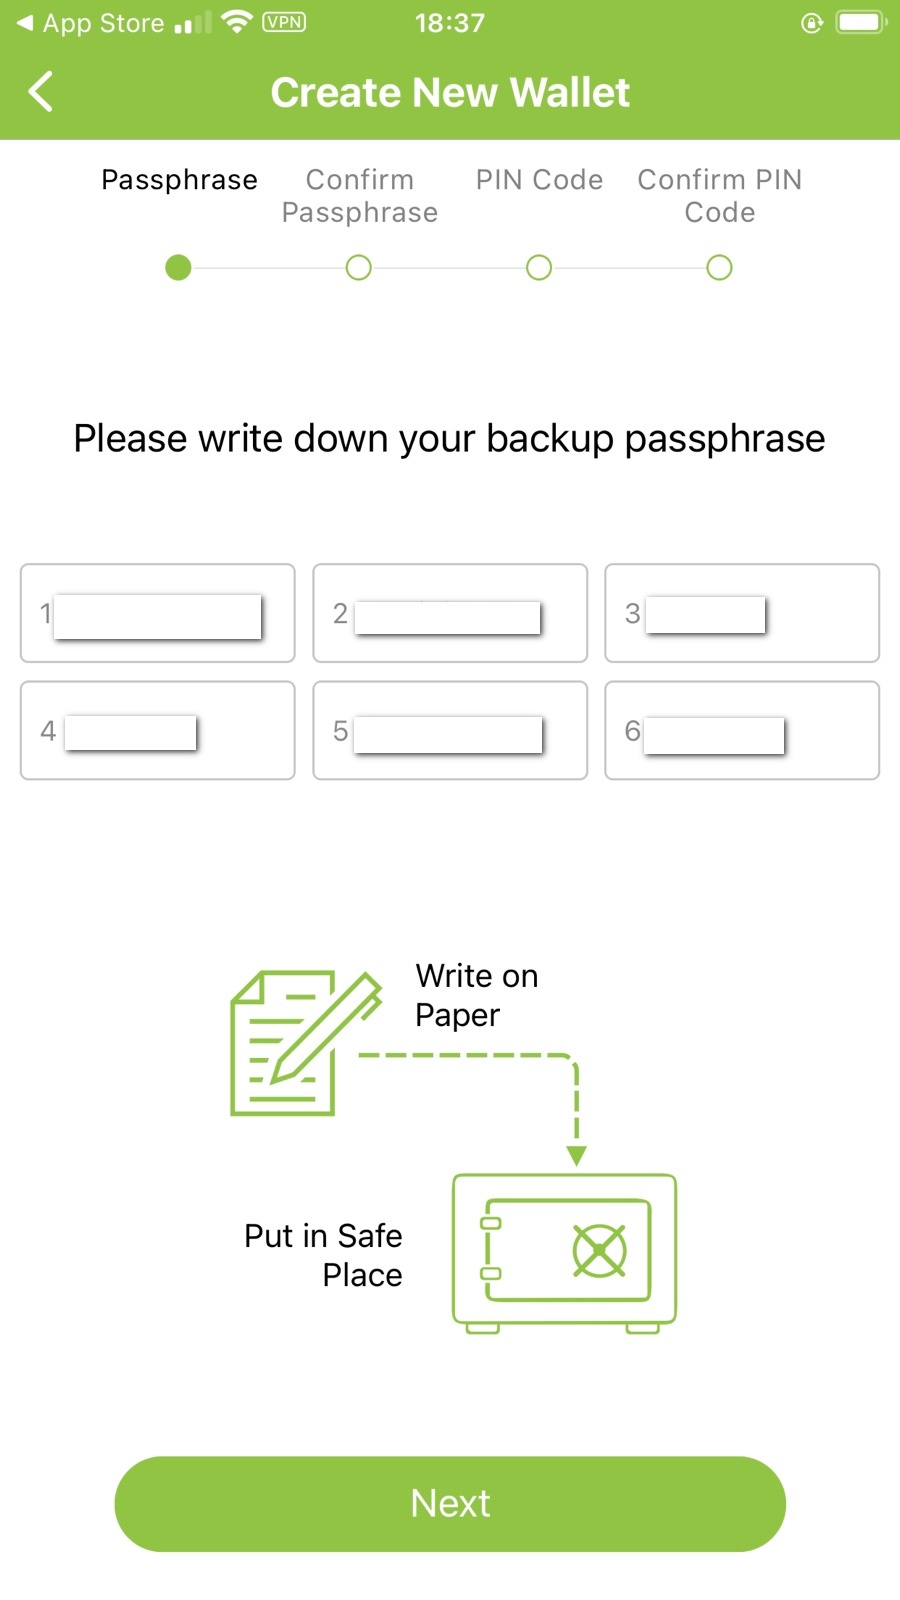
1.4 Creating Your Passphrases
The passphrases provided are randomly generated in a random numerical order. Please write down your backup passphrase exactly as shown and in the same exact numerical order (there are numbered labels in each box signifying the sequence). Make sure the words written down do not have any capitalized letters, numbers in them, symbols, and other unnecessary forms of text that would compromise the accuracy of the words. Once documented, make sure these passphrases are stored in a safe place that is easily accessible by you. A passphrase is an industry standard tool that is a LAST LINE of protection for crypto accounts (be it in an exchange or a wallet). Due to security and privacy reasons, every company that has passphrase protection is unable to access the passphrases. We’re also a non-custodial wallet. Therefore, if you lose your passphrases or incorrectly wrote them down initially, then you will lose access to your account, and there is sadly nothing our company – nor any company – can do to regain access to your account. Users’ bare responsibility for the writing down of passphrases incorrectly, or losing the written passphrases. If you have funds in your account, keep in mind that we do not have access to the funds, they are just sitting there and nor our development team nor your end is able to access the funds to transact.
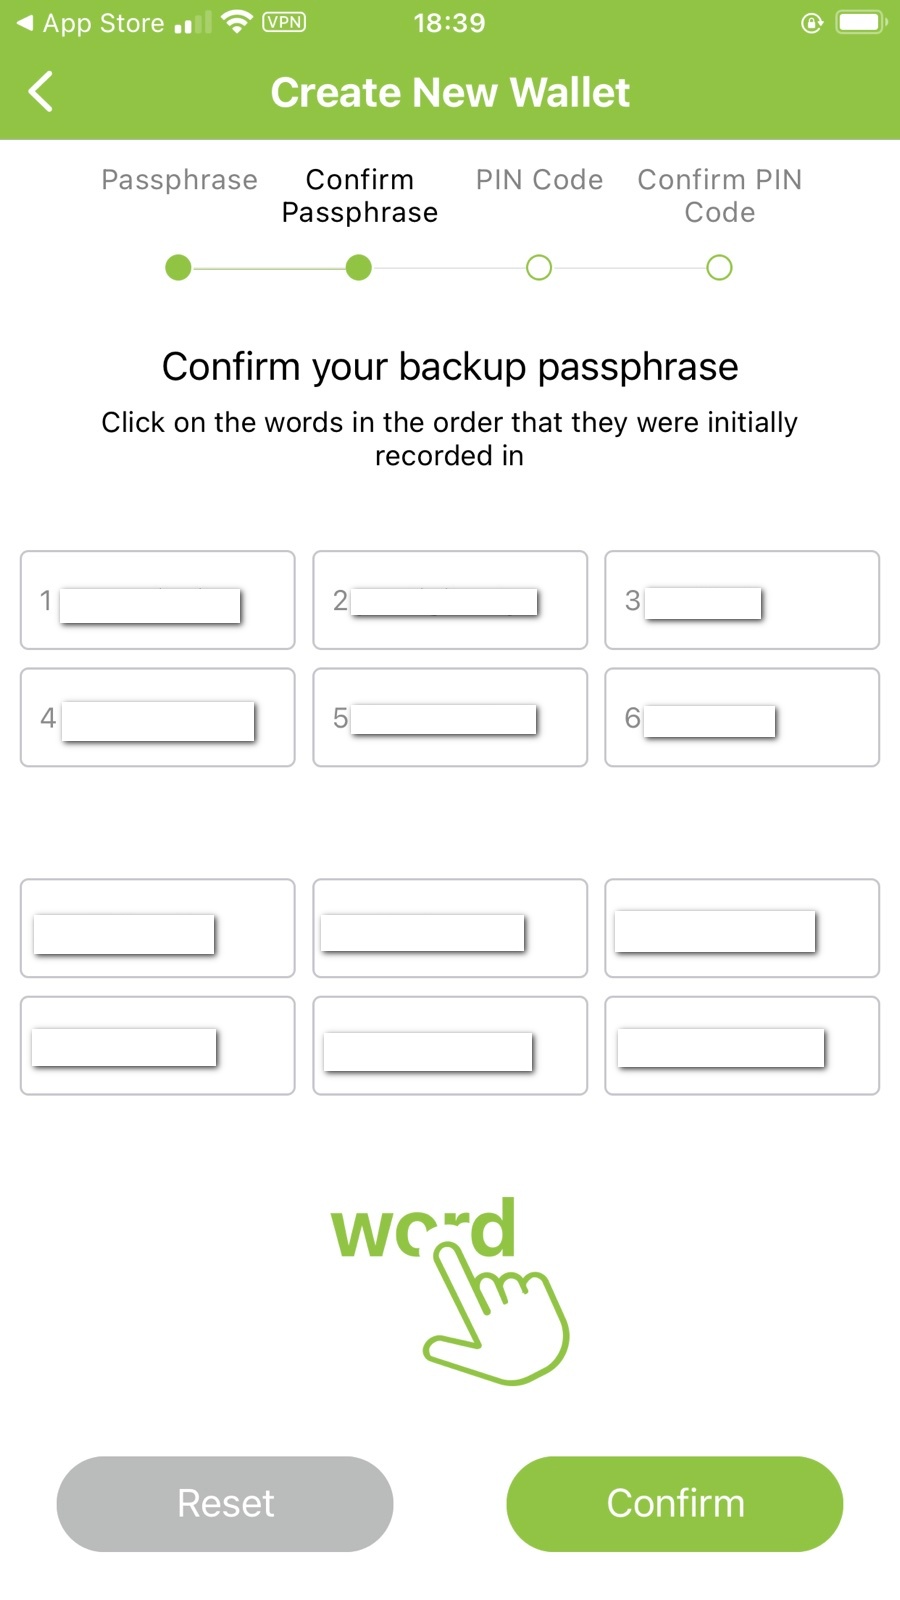
1.5 Confirm Your Backup Passphrase
Click on the words in the same numerological order as they were initially shown to you.
1.6 PIN Code Creation
Create a PIN Code that only you will know. Click Confirm. Make sure to choose a strong pin code that you can remember easily. PIN Codes can be reset via the Restore Wallet feature.
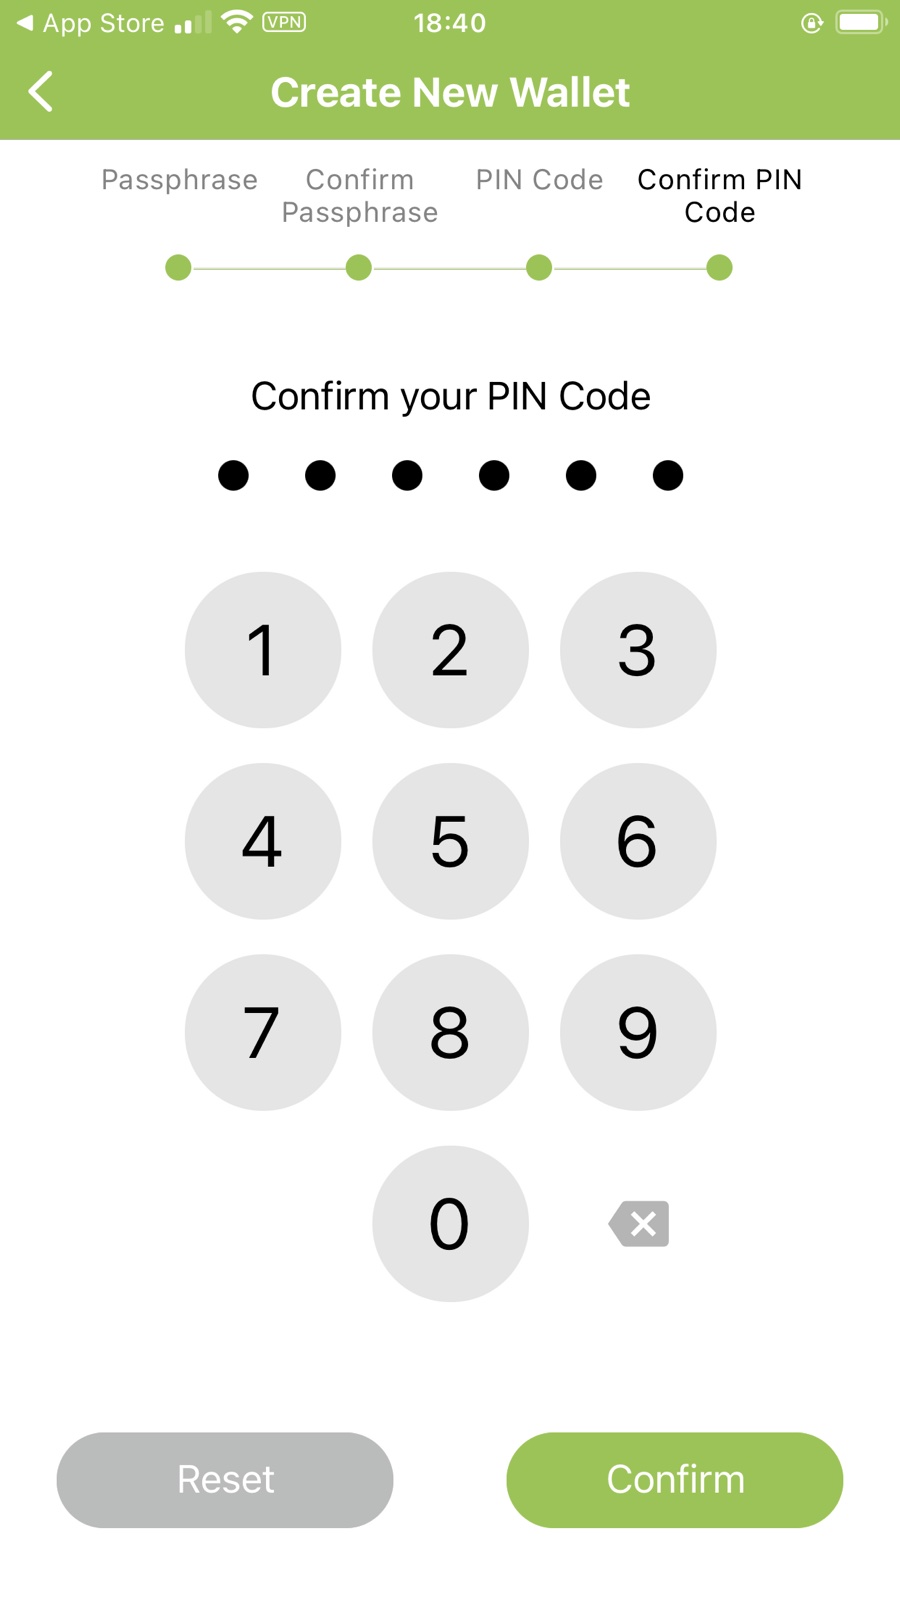
Congratulations, you have successfully set up your PTP Wallet!
1.7 Restoring Your Wallet
Restoring your wallet is very simple. This can be done in two phases: when you’re already logged into an account and when you have just downloaded the app. Let’s assume you are already logged in. In the bottom lower menu, tap on ‘More’. Then, tap on ‘Settings’, and tap on ‘Sign Out From Wallet’.

1.7.1
Then, you will be shown this screen:
1.7.2
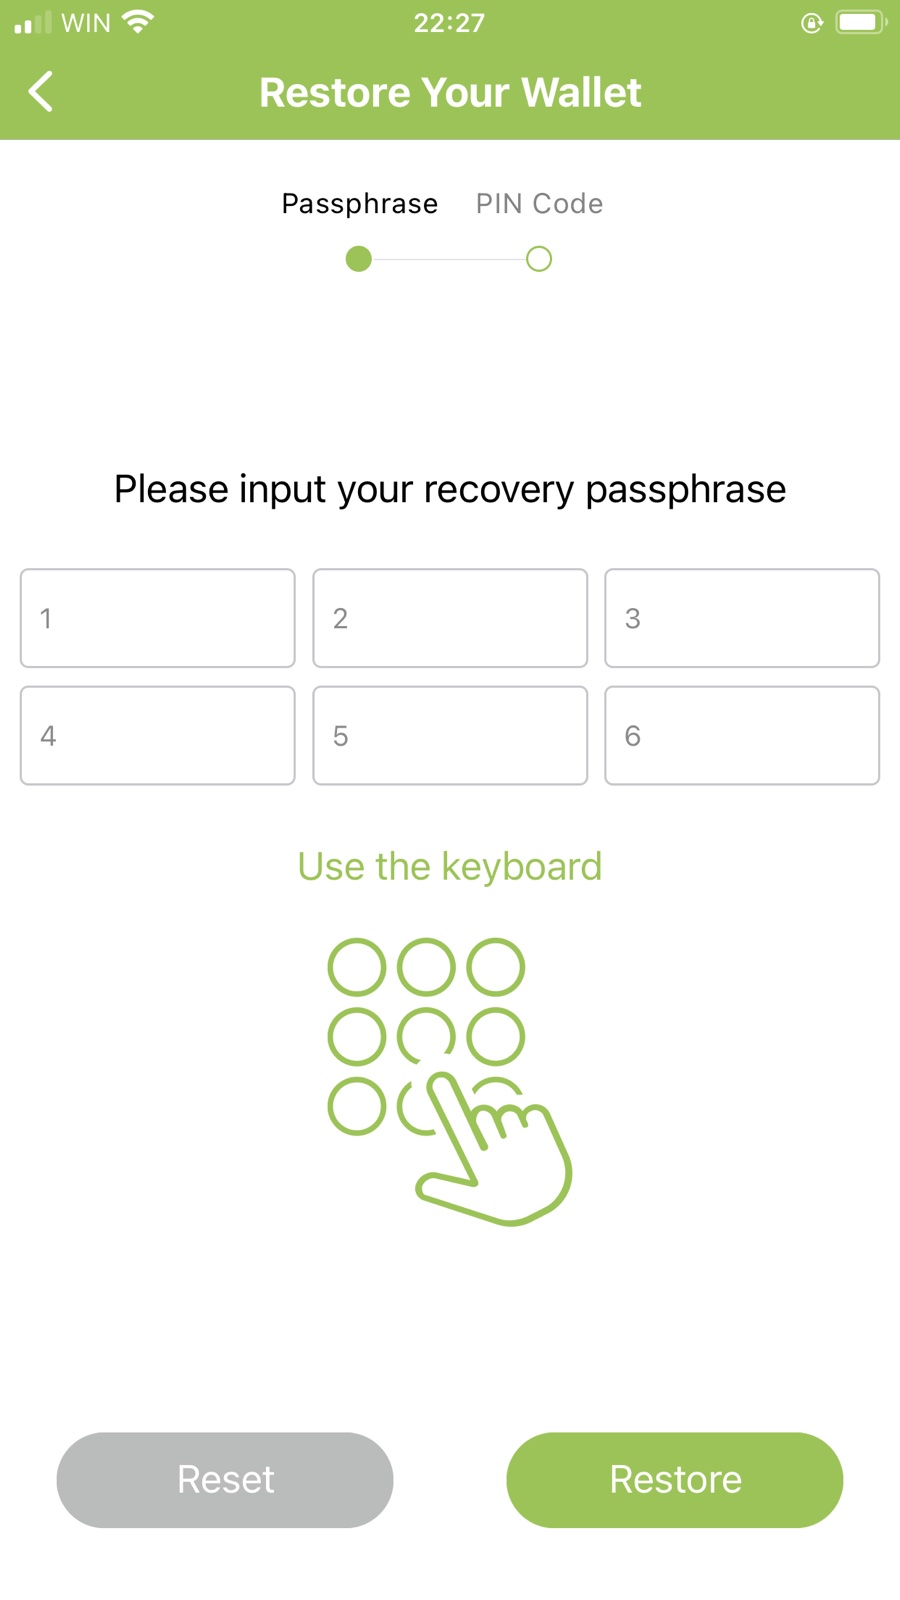
Tap on Login/Restore Your Wallet. You will then be requested to enter the original passphrases in the same numerical order, and exactly as initially shown, into the fields. Please double check to make sure you implemented the passphrases correctly, without any spacing after the words, in the same numeric order, and make sure the grammar is correct (no autocorrects). In addition, make sure you aren’t missing a letter and no letters are capitalized.
1.7.3
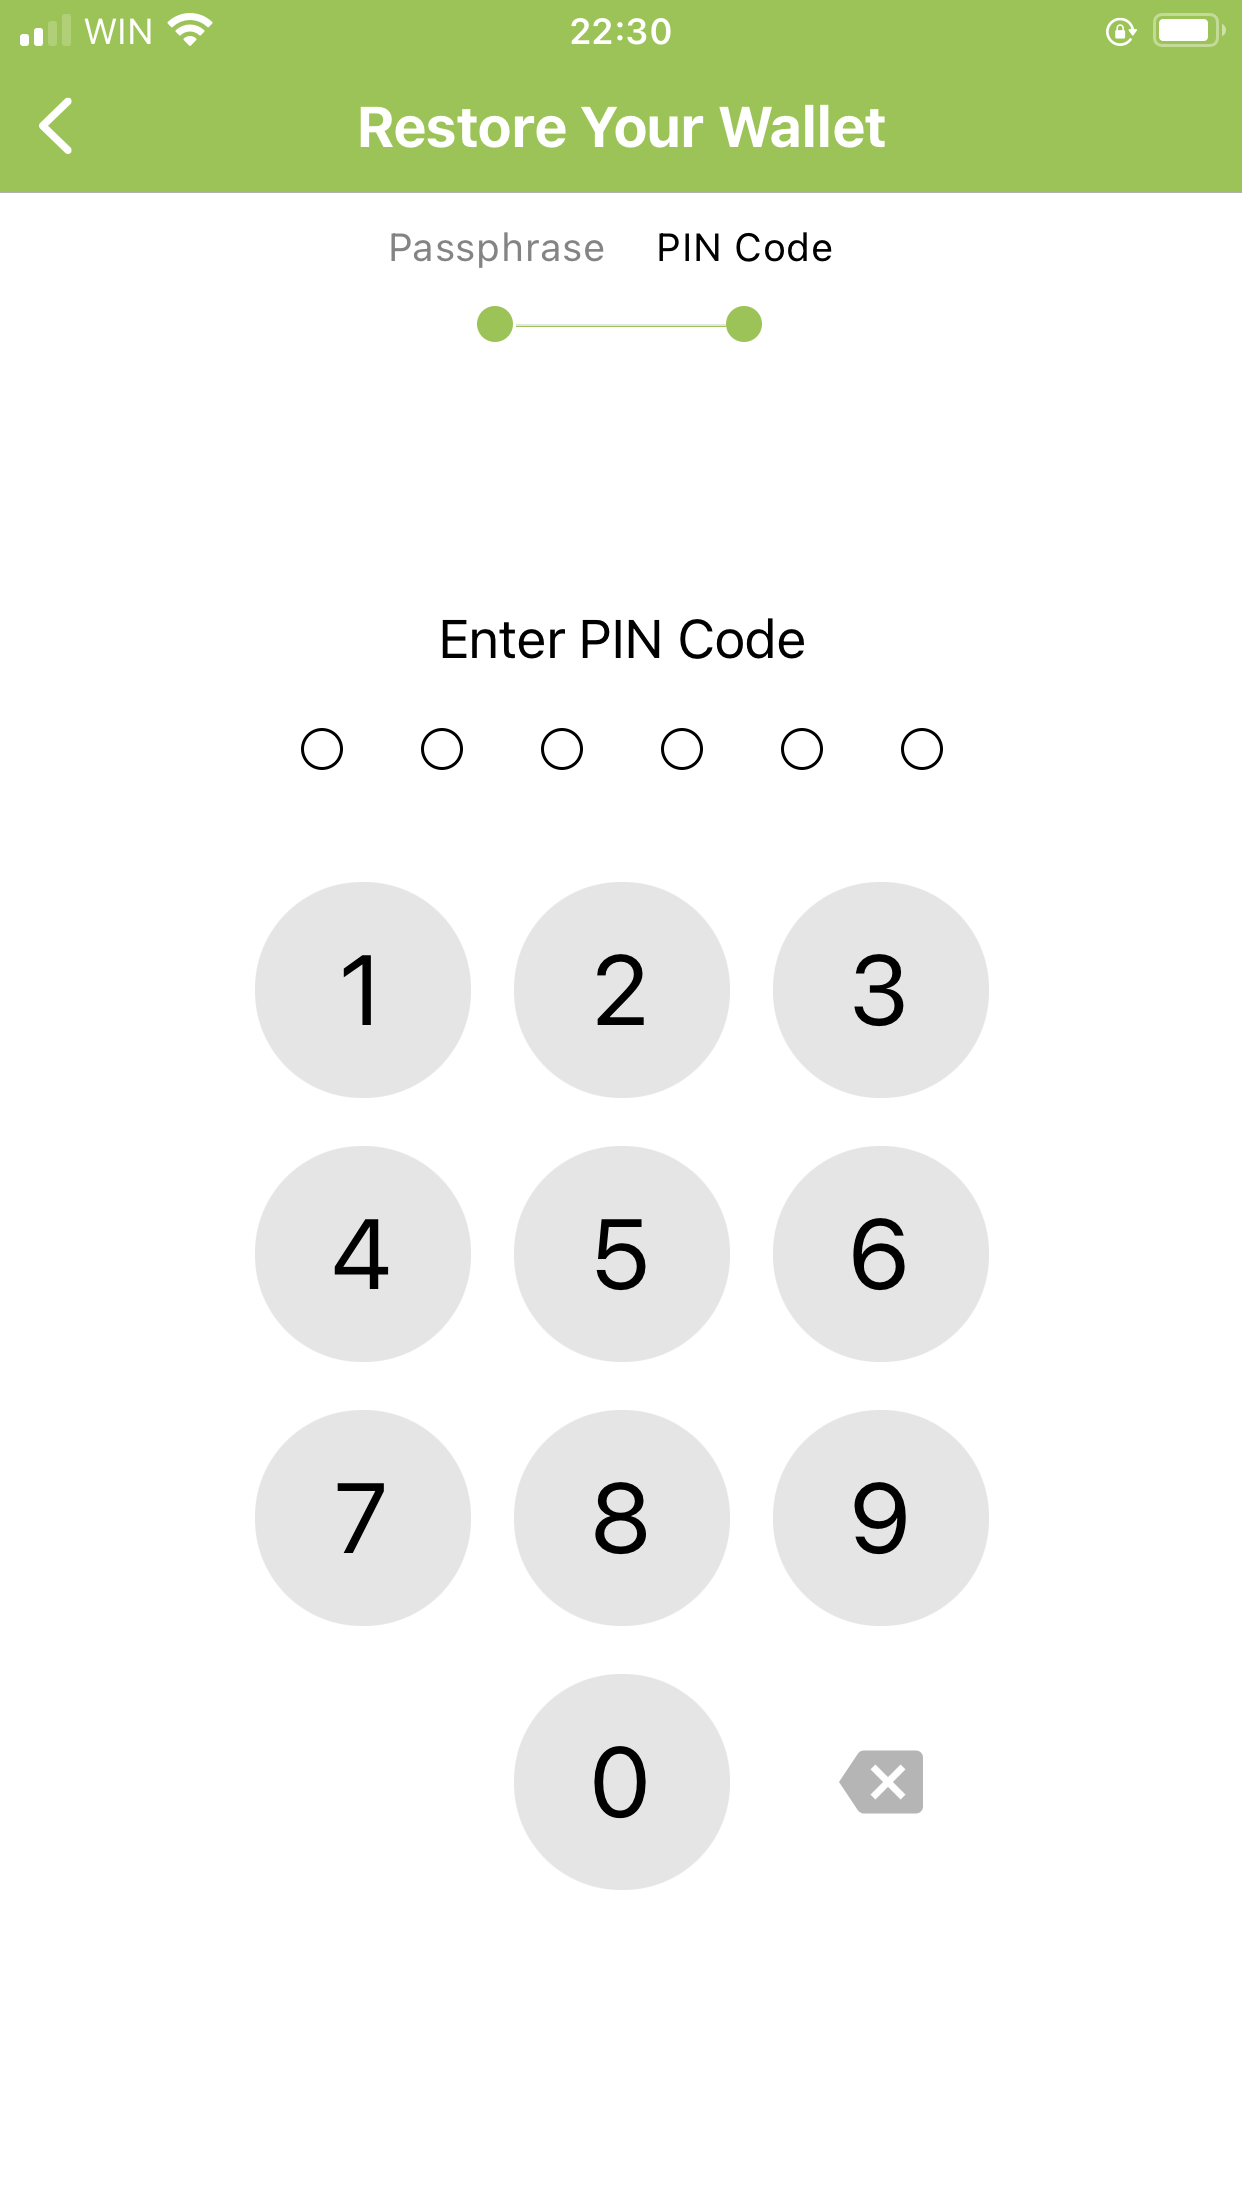
Finally, you will be requested to enter PIN Code. Proceed with this step and after entering the new PIN Code, you will have access to your original account.
- The Wallet Main Menu and Cryptocurrencies
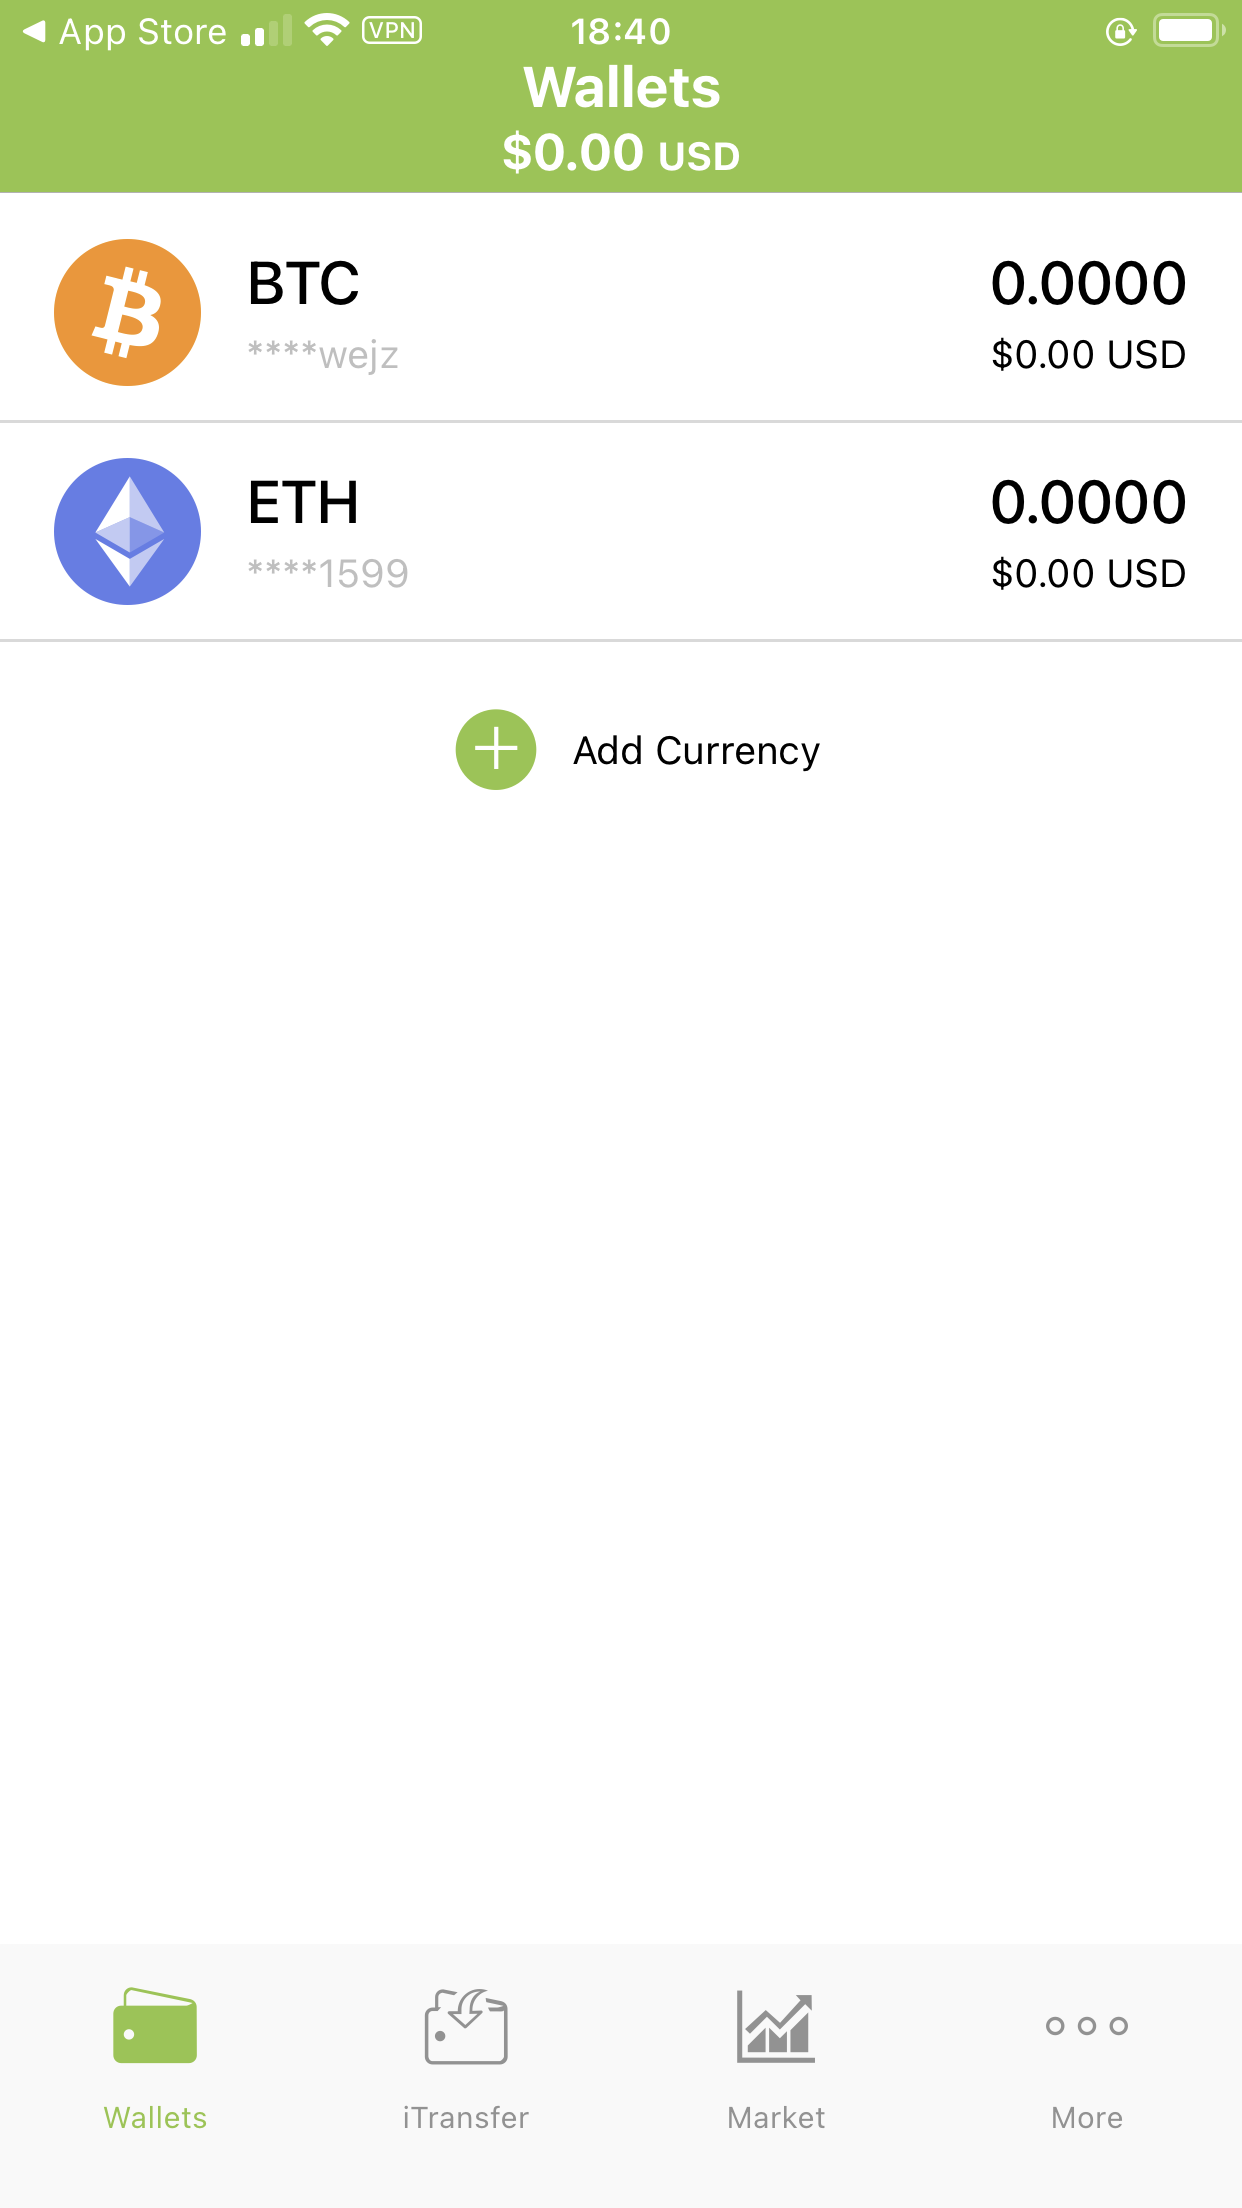
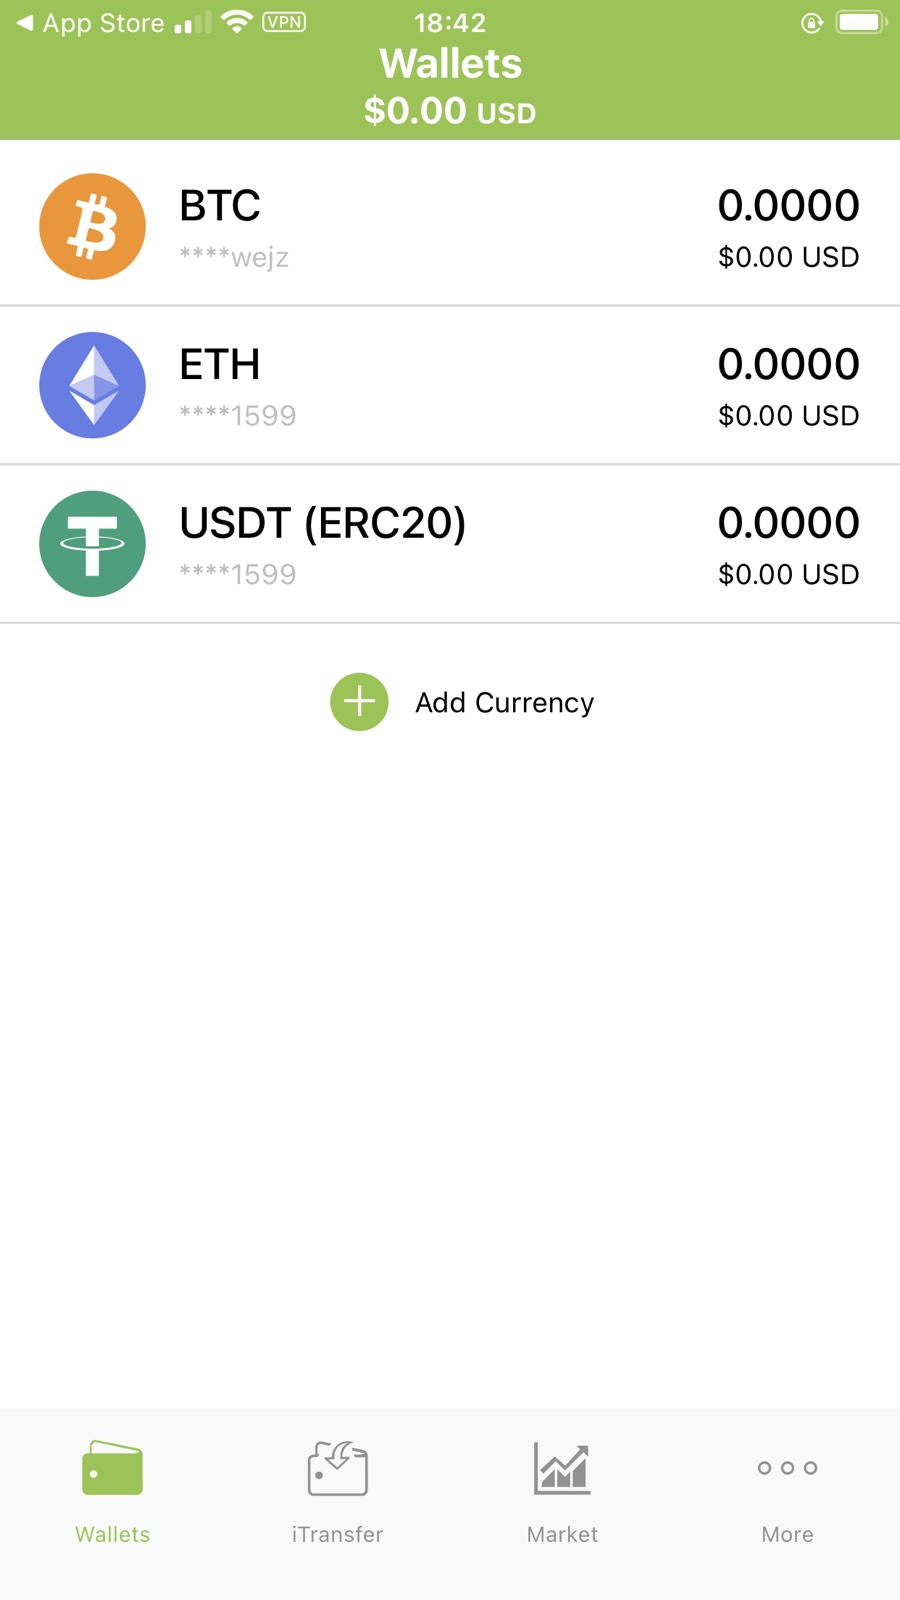
The “Wallet” menu shows all the tokens that you have added, the amount of cryptocurrency you have, and shows you your total account balance.
You can add coins/tokens by pressing “Add Currency”.
2.1 Adding the Currency
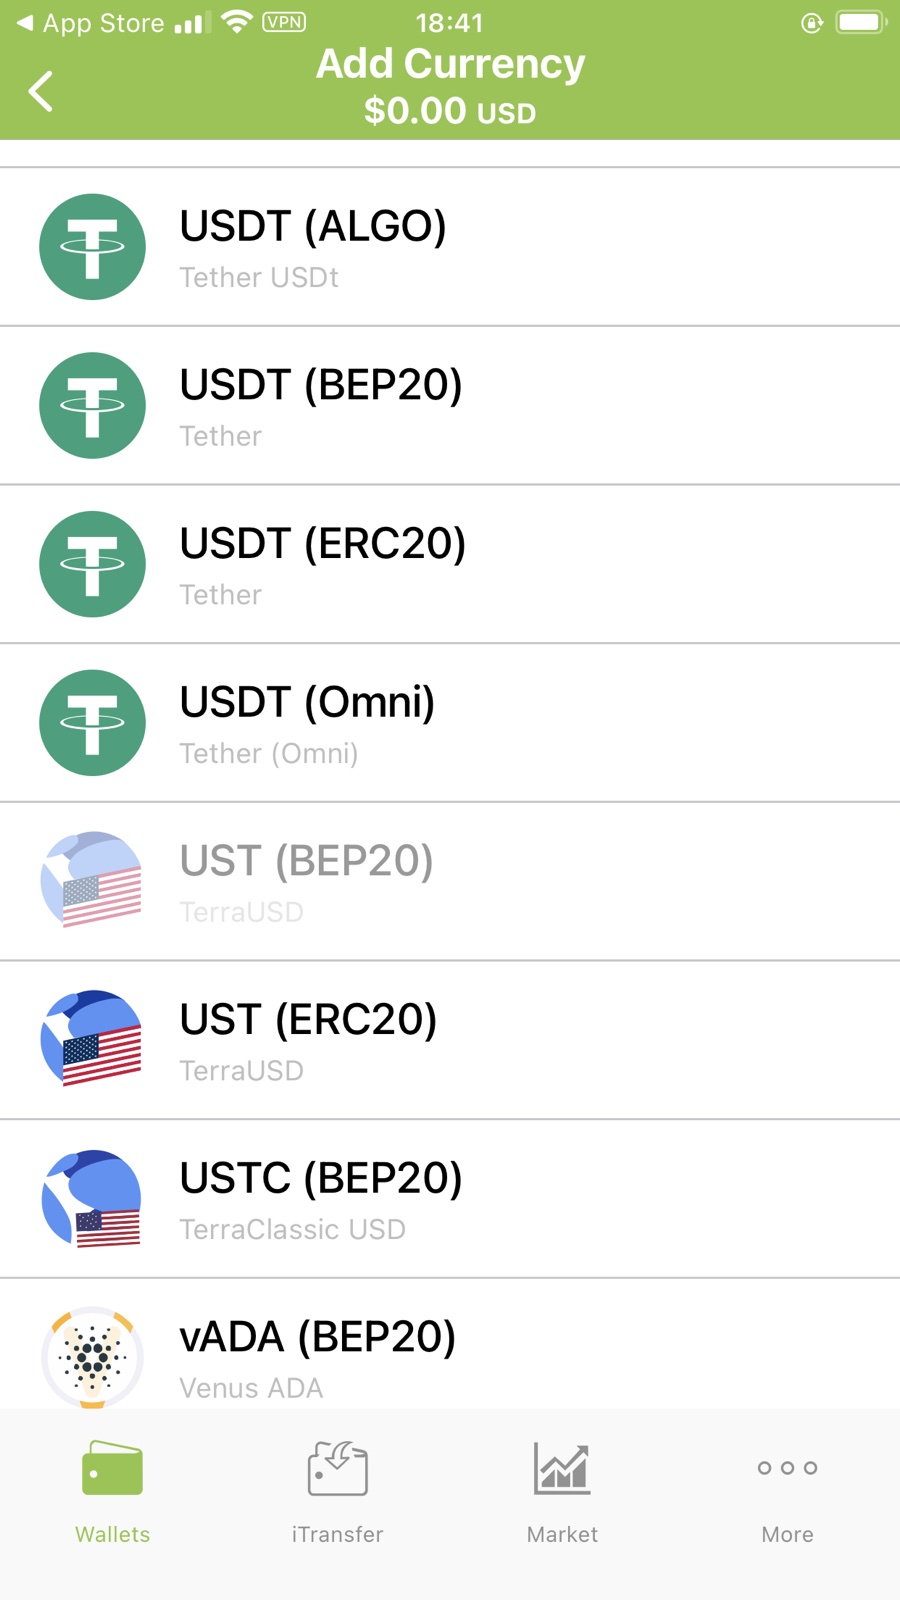
Let’s say we want to add USDT (ERC-20). We scroll down to where we can find this currency. Keep in mind that each currency has its protocol identified in brackets ( ). Each protocol is different and ERC-20 protocol currencies, for example, can’t intertwine with BEP-20 protocol currencies. This means that if you send USDT (ERC-20) to a USDT (BEP-20) Receive Address, you may lose your funds. Currencies that are shaded are ones that are currently unavailable or that are undergoing maintenance.
Select the USDT (ERC-20) account.
2.2. Updated Wallet Account
As seen in the image, you now have the USDT (ERC-20) account added into your PTP Wallet. You can now use this currency.
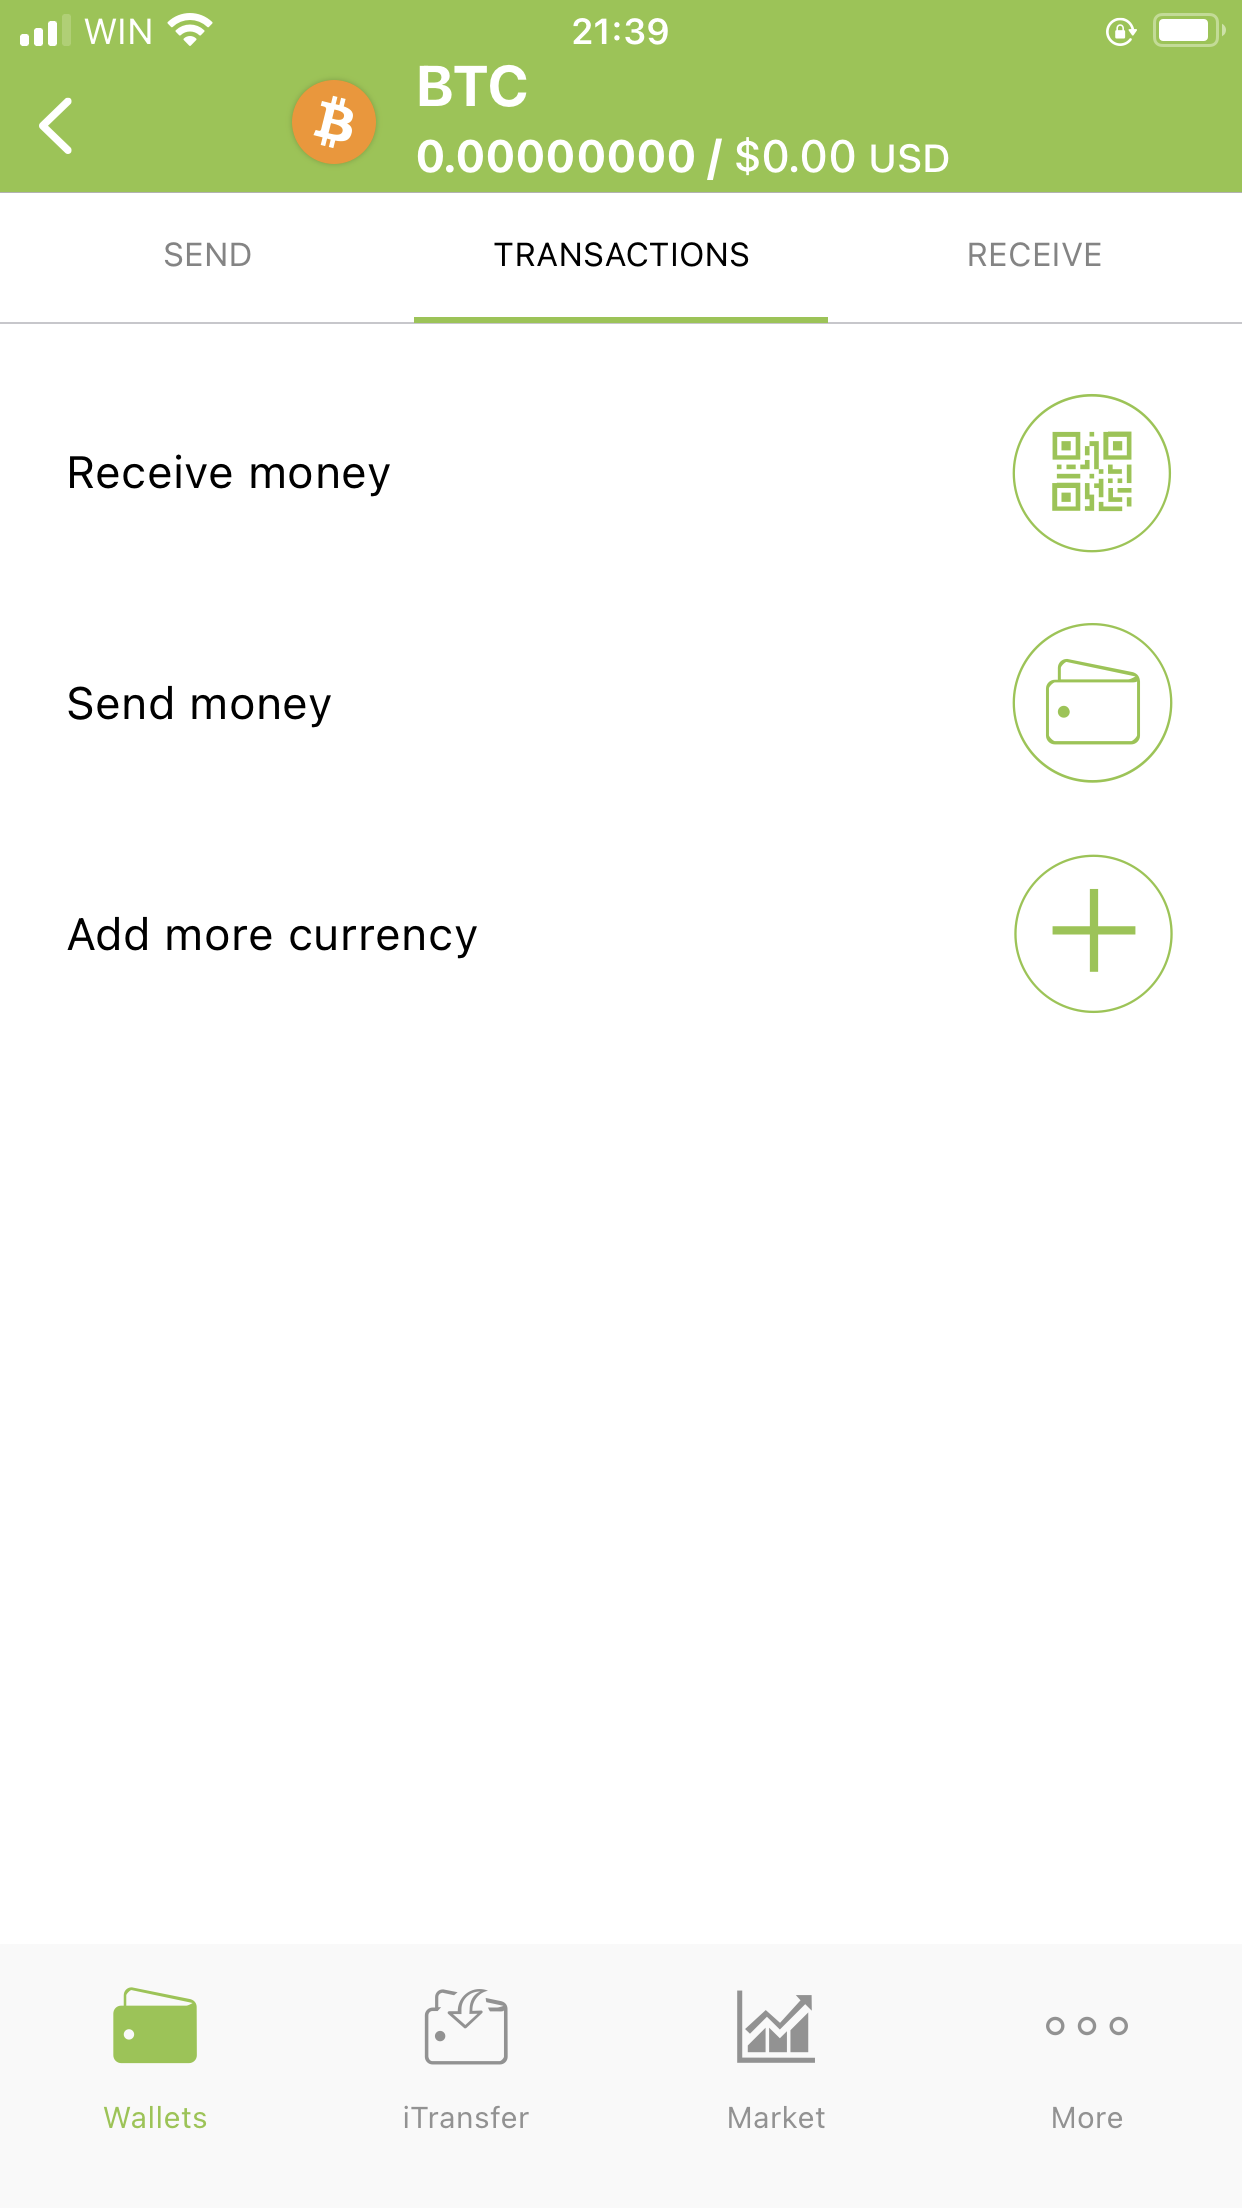
2.3 The ‘Transactions’ Sub-Menu
Let’s tap on Bitcoin (BTC) for this example. Here you are automatically sent to the ‘Transactions’ screen.
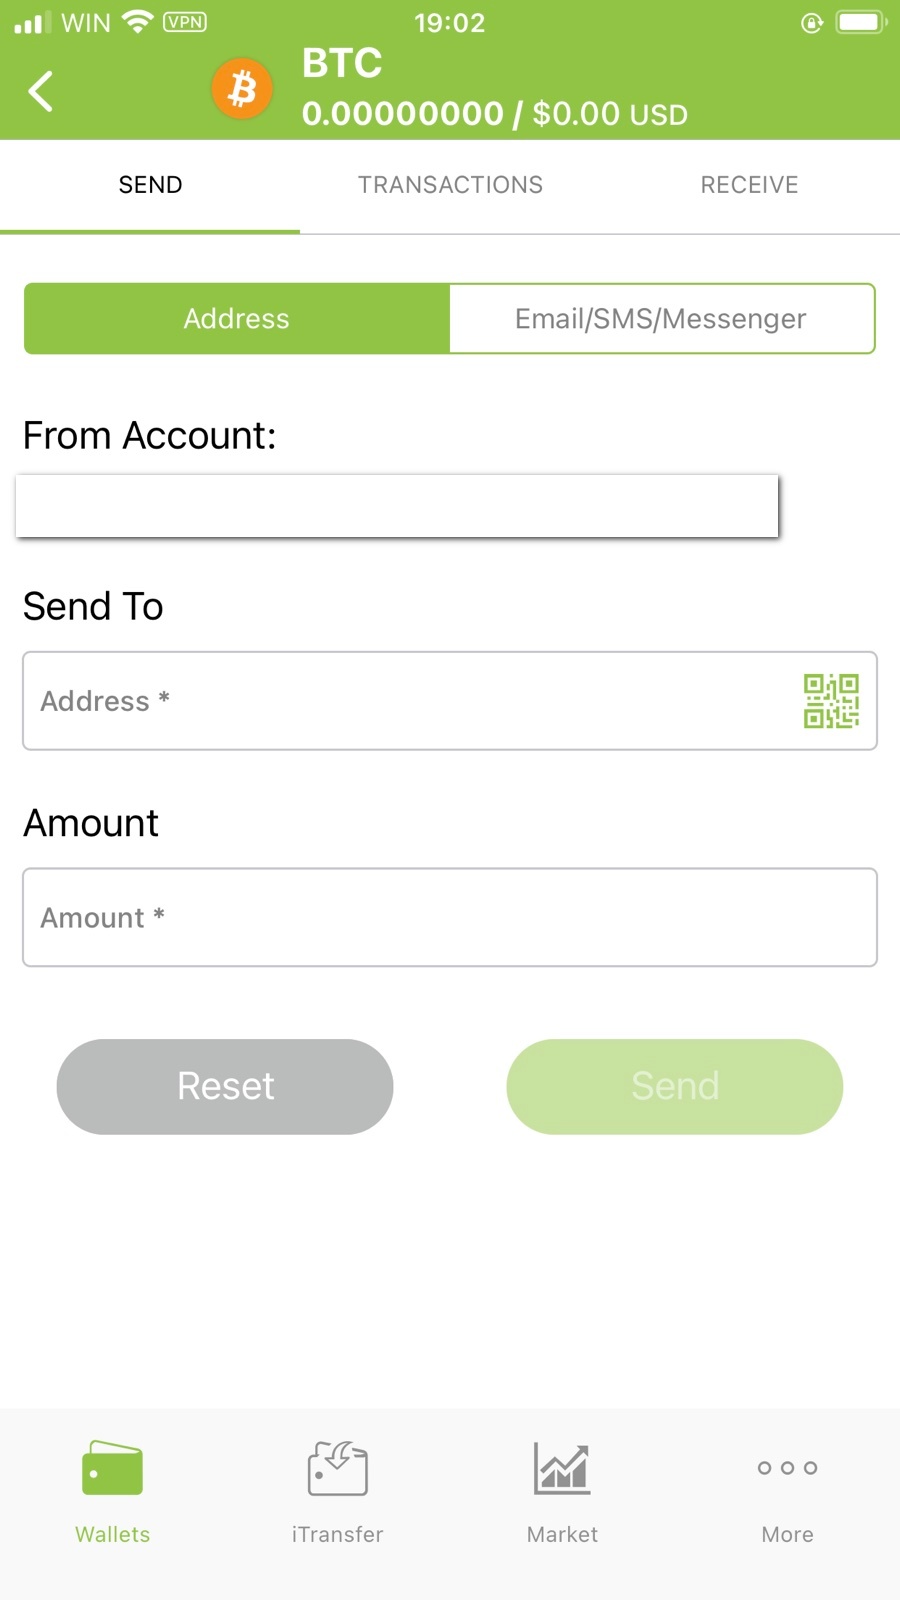
2.2 Sending a Transaction
If you want to send a transaction, you need to click on the “SEND” section. Tap on “SEND” and then you’ll be shown three fields – “From Account”, “Sent To”, and “Amount”. In “From Account”, you select the BTC account from which you want to send BTC. In “Send To”, you enter the Receive Address (found in the “Receive” sub-menu of a currency) of the account you are sending the funds to. Make sure that the Receive Address is from a currency that is identical to the one you are sending – ETH to ETH, BTC to BTC, LTC to LTC, etc.
Select your account, enter the Receive Address, and enter the amount of BTC you want to send. After doing so, you may have a notification appear below the “Amount” field stating that there needs to be an adjustment for the gas fee, tap on the red ‘Tap Here’ message. Press the “Send” button to send the funds.
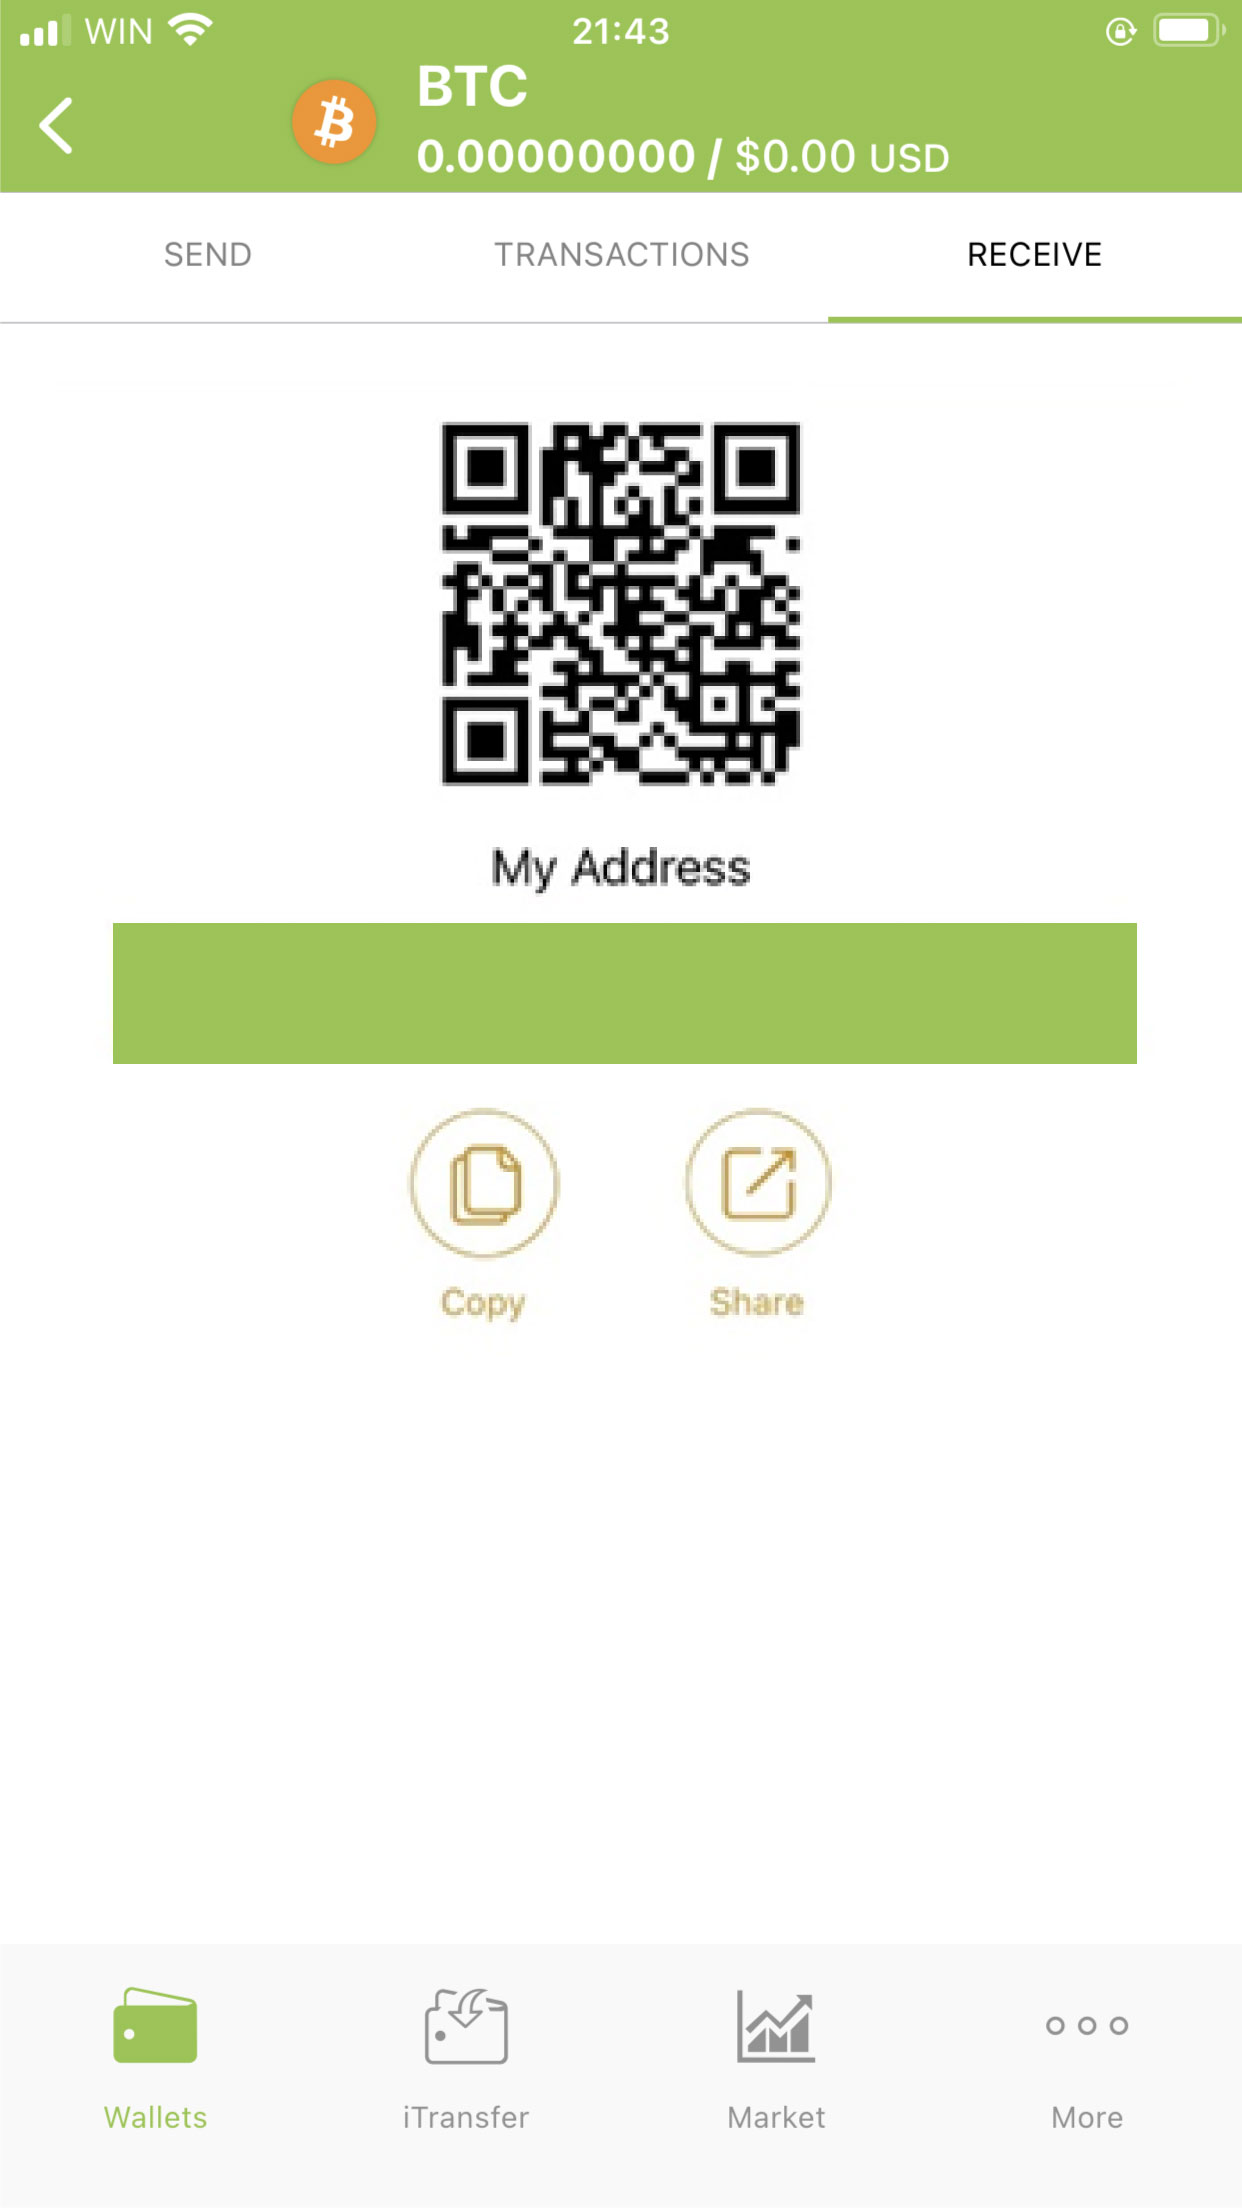
2.3 Receiving a Transaction
Choose the “RECEIVE” sub-menu. There, you will see your QR Code and receive address; unique only to your account. This Receive Address and QR Code are required to be shared with the sender when you are looking to receive a transaction from someone.
- iTransfer
The iTransfer functionality allows users to send money via multiple different channels, not just via QR Code or by Address.
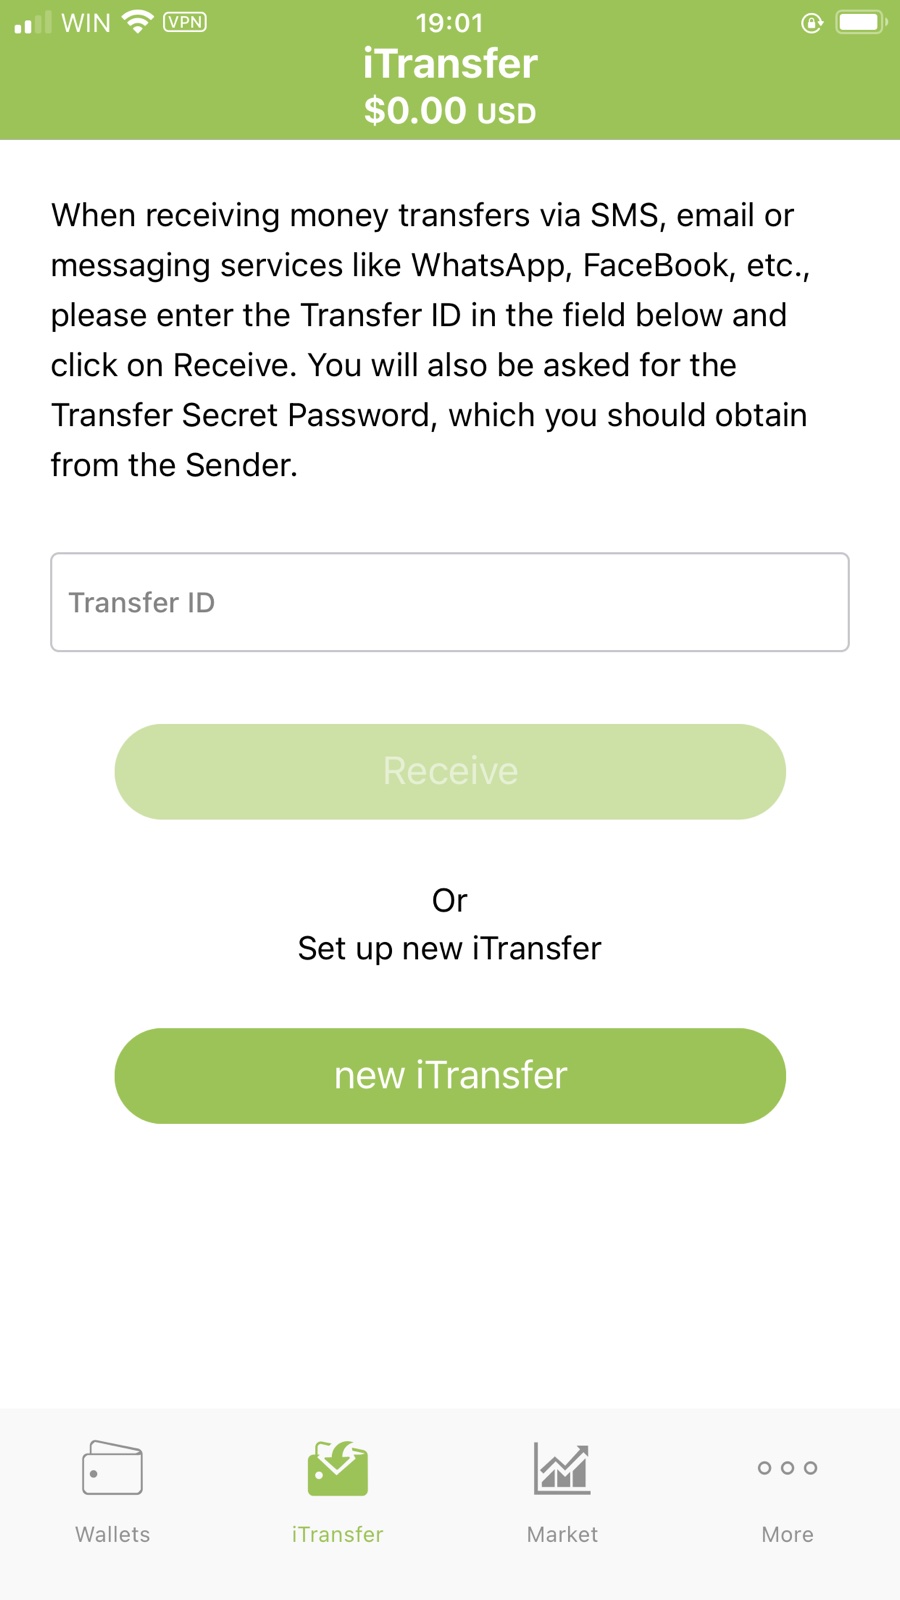
3.1 Sending Funds via iTransfer
When you tap on “New iTransfer”, it will send you to the main menu, where you need to choose the account from which you want to send the funds. In this case, let’s use BTC. Once you select your Bitcoin account, tap on “SEND”. Then, tap on “Email/SMS/Messenger”. Enter the amount of BTC you want to send, and create a Password. The password can be anything, as long as you remember it. Tap “NEXT”.
Funds will be withdrawn from your wallet and will be done so until the transaction has been cancelled or has been accessed by the Receiver in the ‘iTransfer ID’ field of the iTransfer menu.
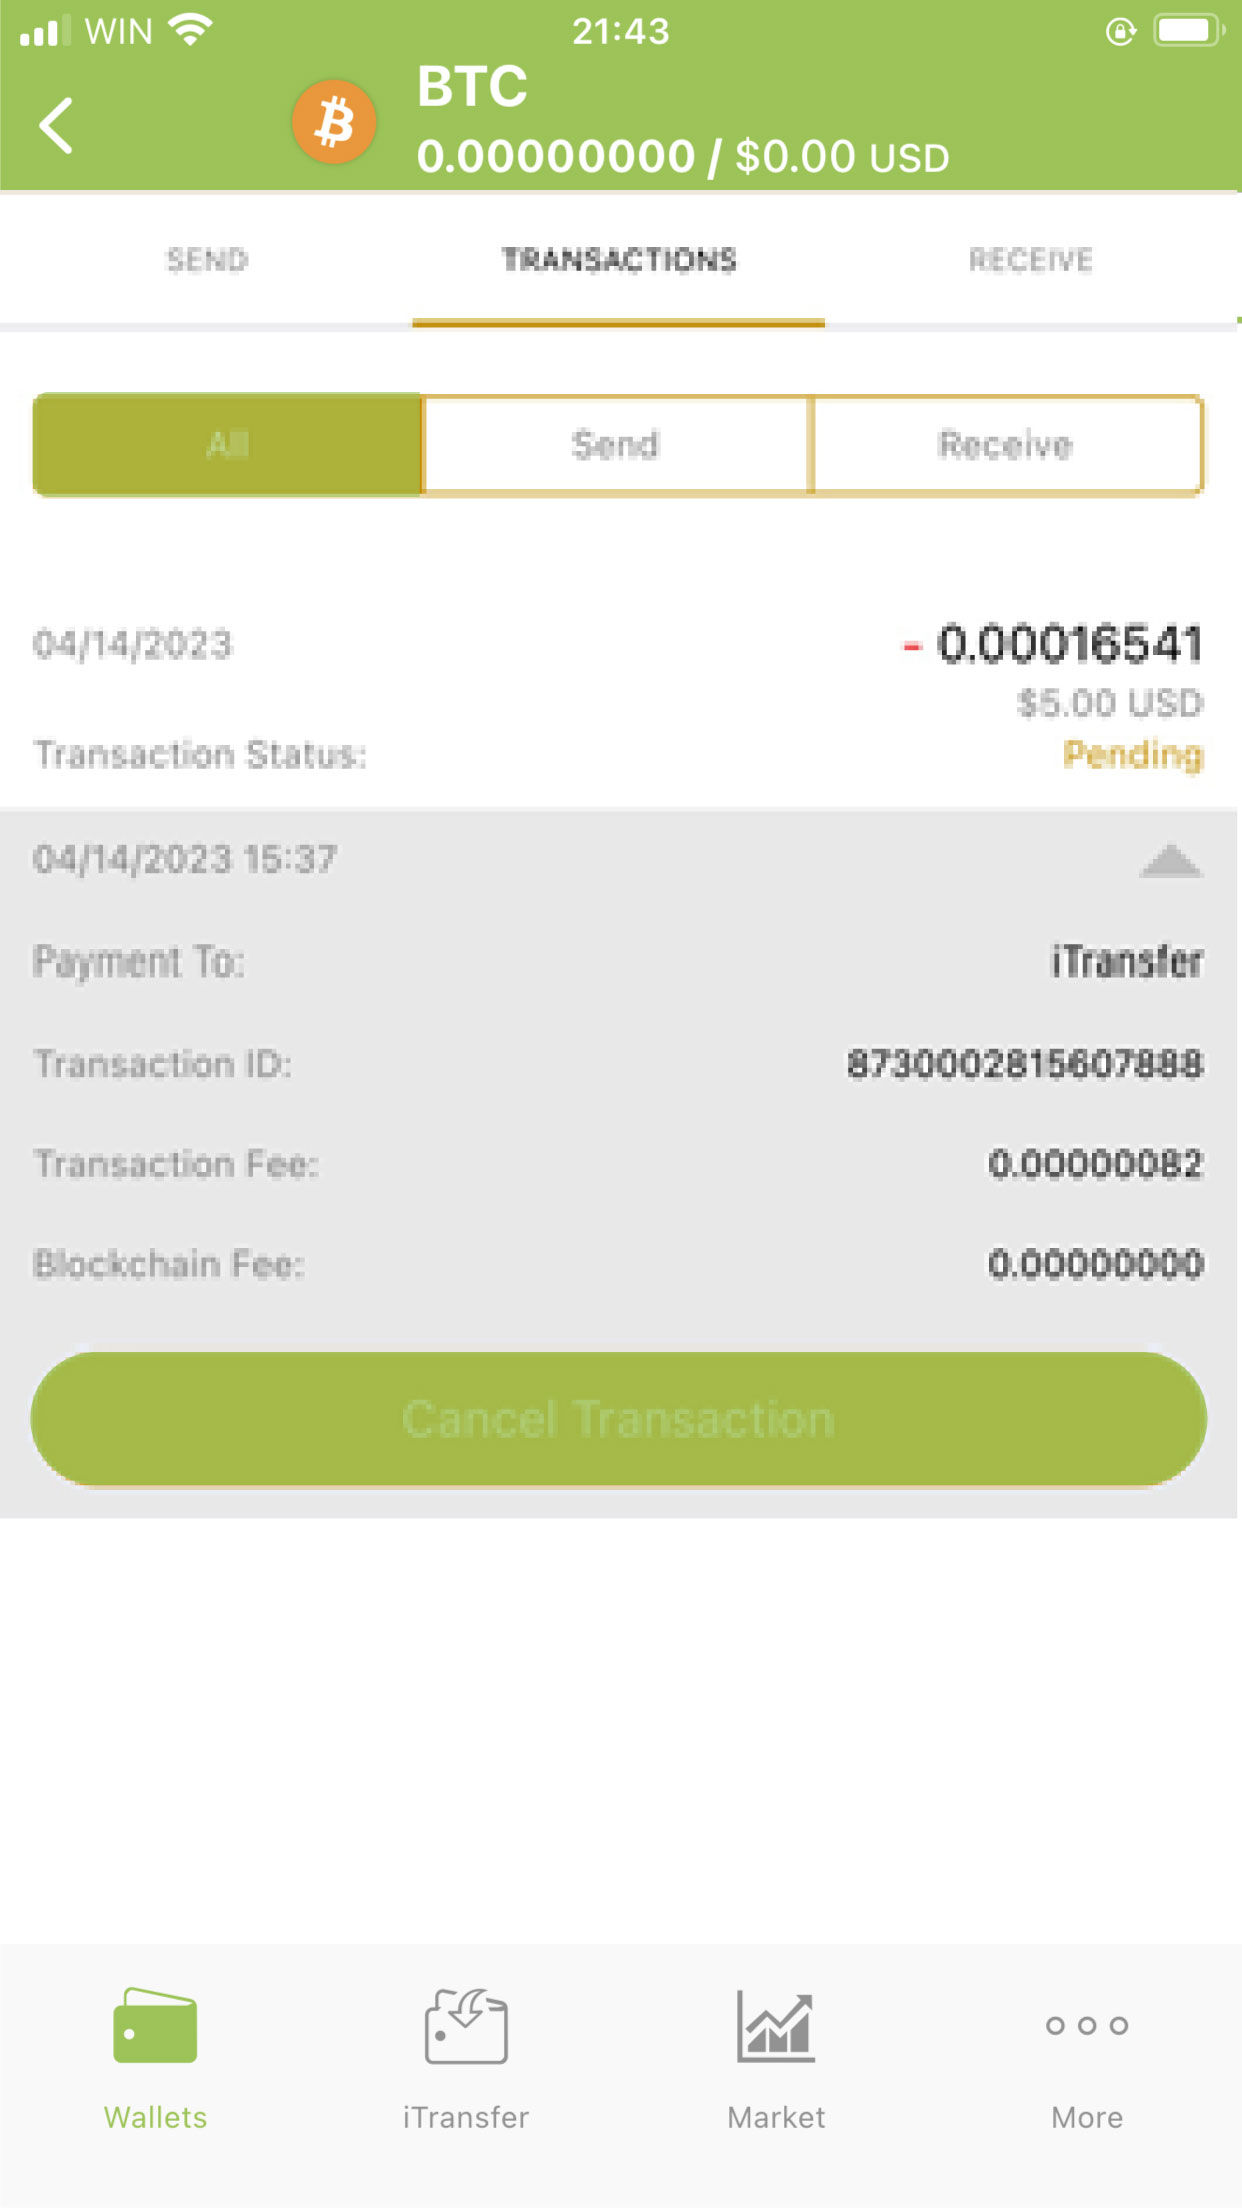
3.2 Cancelling an iTransfer
If you made a transaction via iTransfer but forgot the password or no longer want to be sending the funds, you can always cancel the transaction. Go to your currency, click on ‘Transactions’. Then, click on either ‘Send’ or ‘All’. You should then be able to see the recent transaction with a ‘Pending’ notice below the dollar amount.
Tap on it and then tap ‘Cancel Transaction’
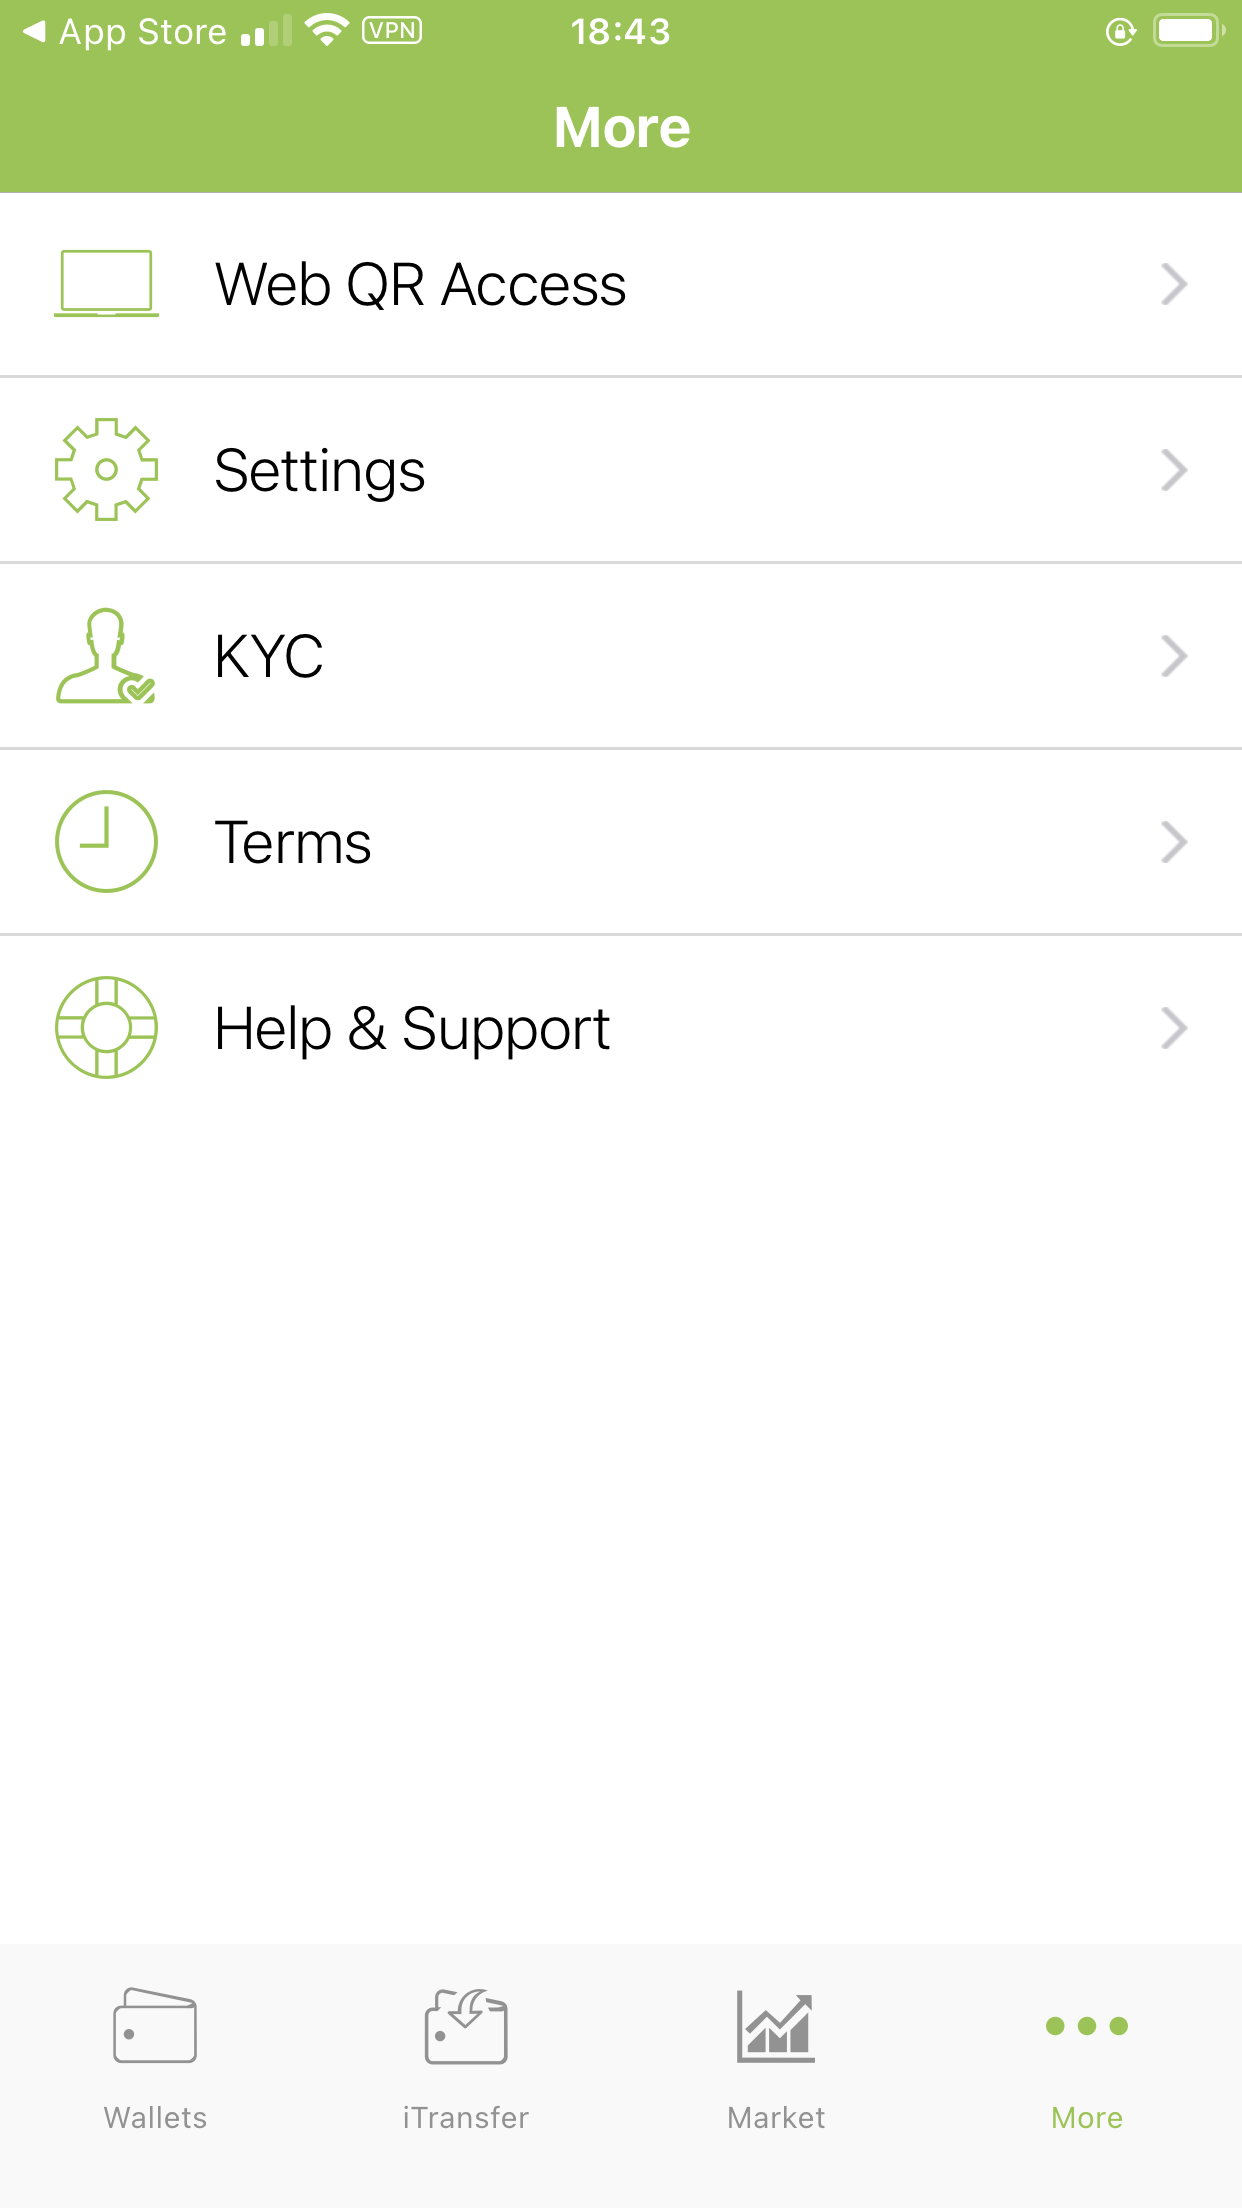
- The KYC Verification Process
To increase your send/receive limit in PTP wallet, you need to complete the KYC verification process. The KYC (Know-Your-Customer) process is required by most nations’ local governments. This is an industry standard that is seen throughout the blockchain/crypto industry in almost all crypto wallets and exchanges. We request you to complete the KYC form only once when creating an account, and then a subsequent update to be done at the start of a new year to ensure that documents are up-to-date. Your KYC information is encrypted and is only accessible by the company’s Compliance Officer.
To find the KYC section, tap on the “More” found in the menu and then tap on “KYC”.
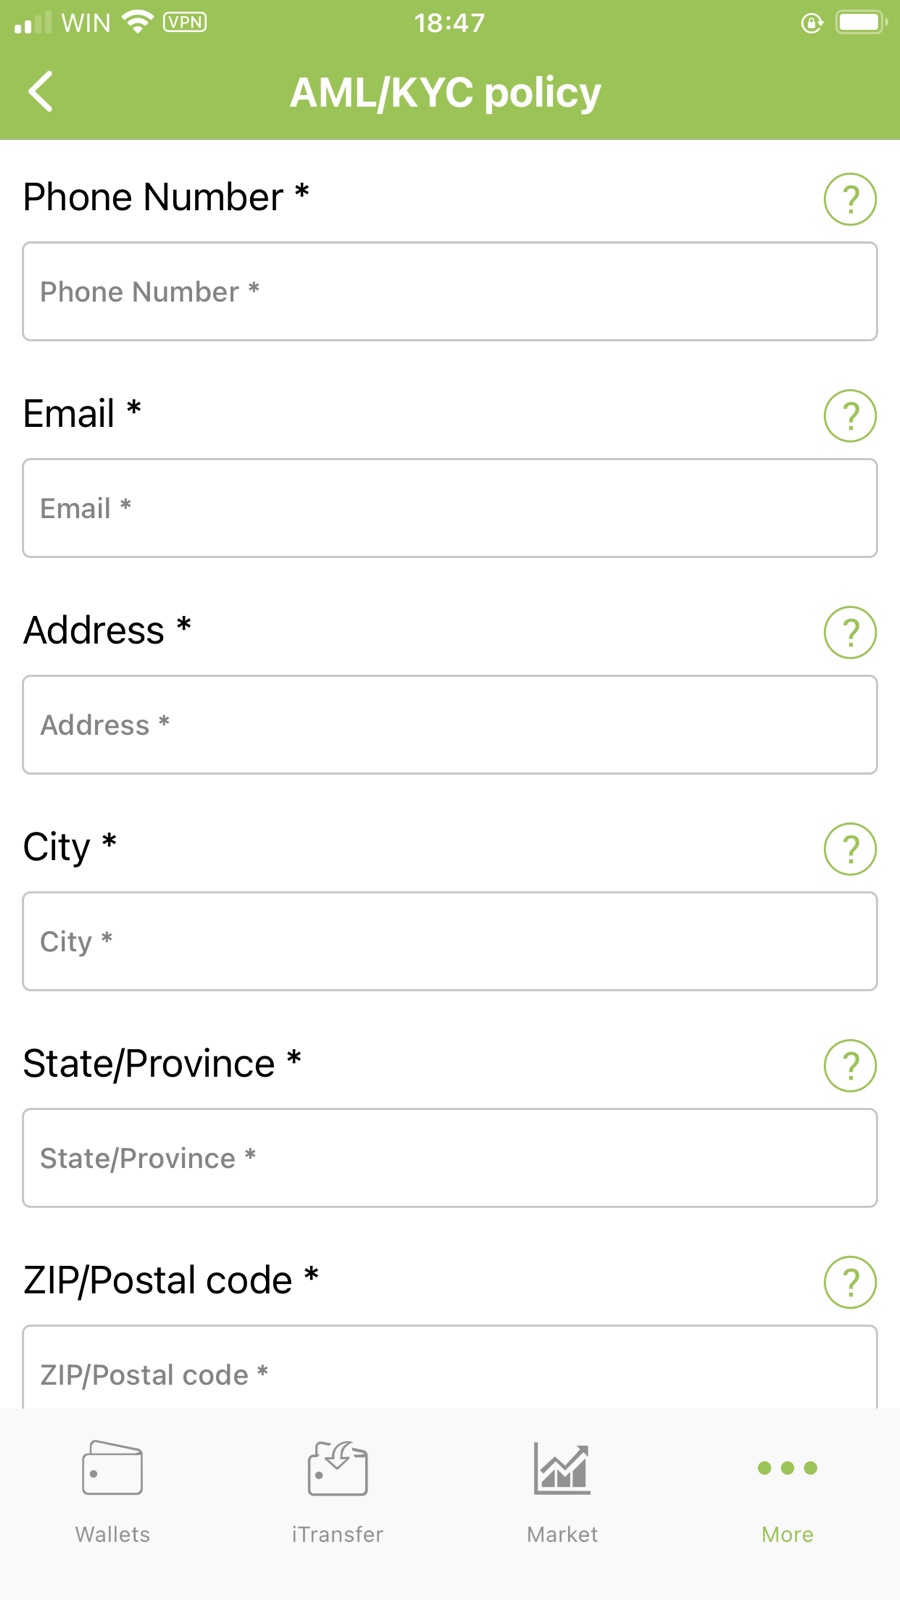
4.1 Entering The Required Information
As per the Terms of Use, by entering the information and submitting to us the documentation, you confirm that this information is accurate and up-to-date. Please fill in your personal information in the required fields. Prior to doing so, make sure you have a stable internet connection, are not using a VPN (as it may affect submission of the uploaded images), and that you have the latest version of the wallet.

4.2 Filling in the Form
Fill in the required information, such as phone number and email address.
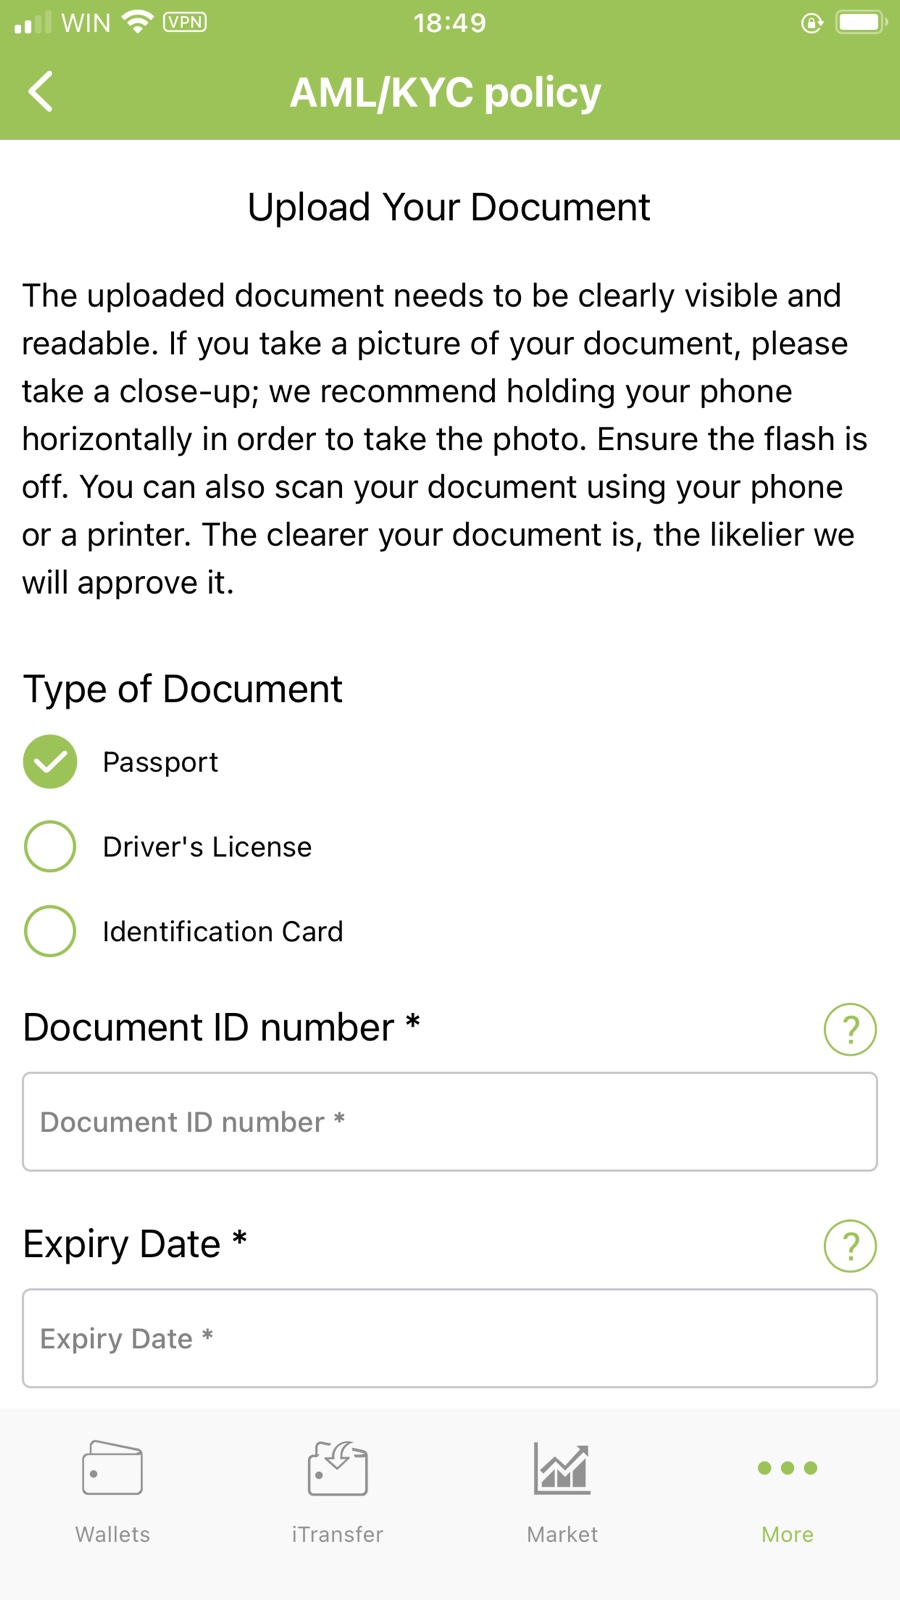
4.3 Providing A Government-Issued ID
It is required to upload an image of your valid government-issued ID, such as a passport or driver’s license, as proof of identity. When uploading the images, make sure that the image was not taken in 4K (if you have an iPhone), in order to avoid large megapixel uploads. Nonetheless, make sure that the image is clearly visible and the information presented is readable.
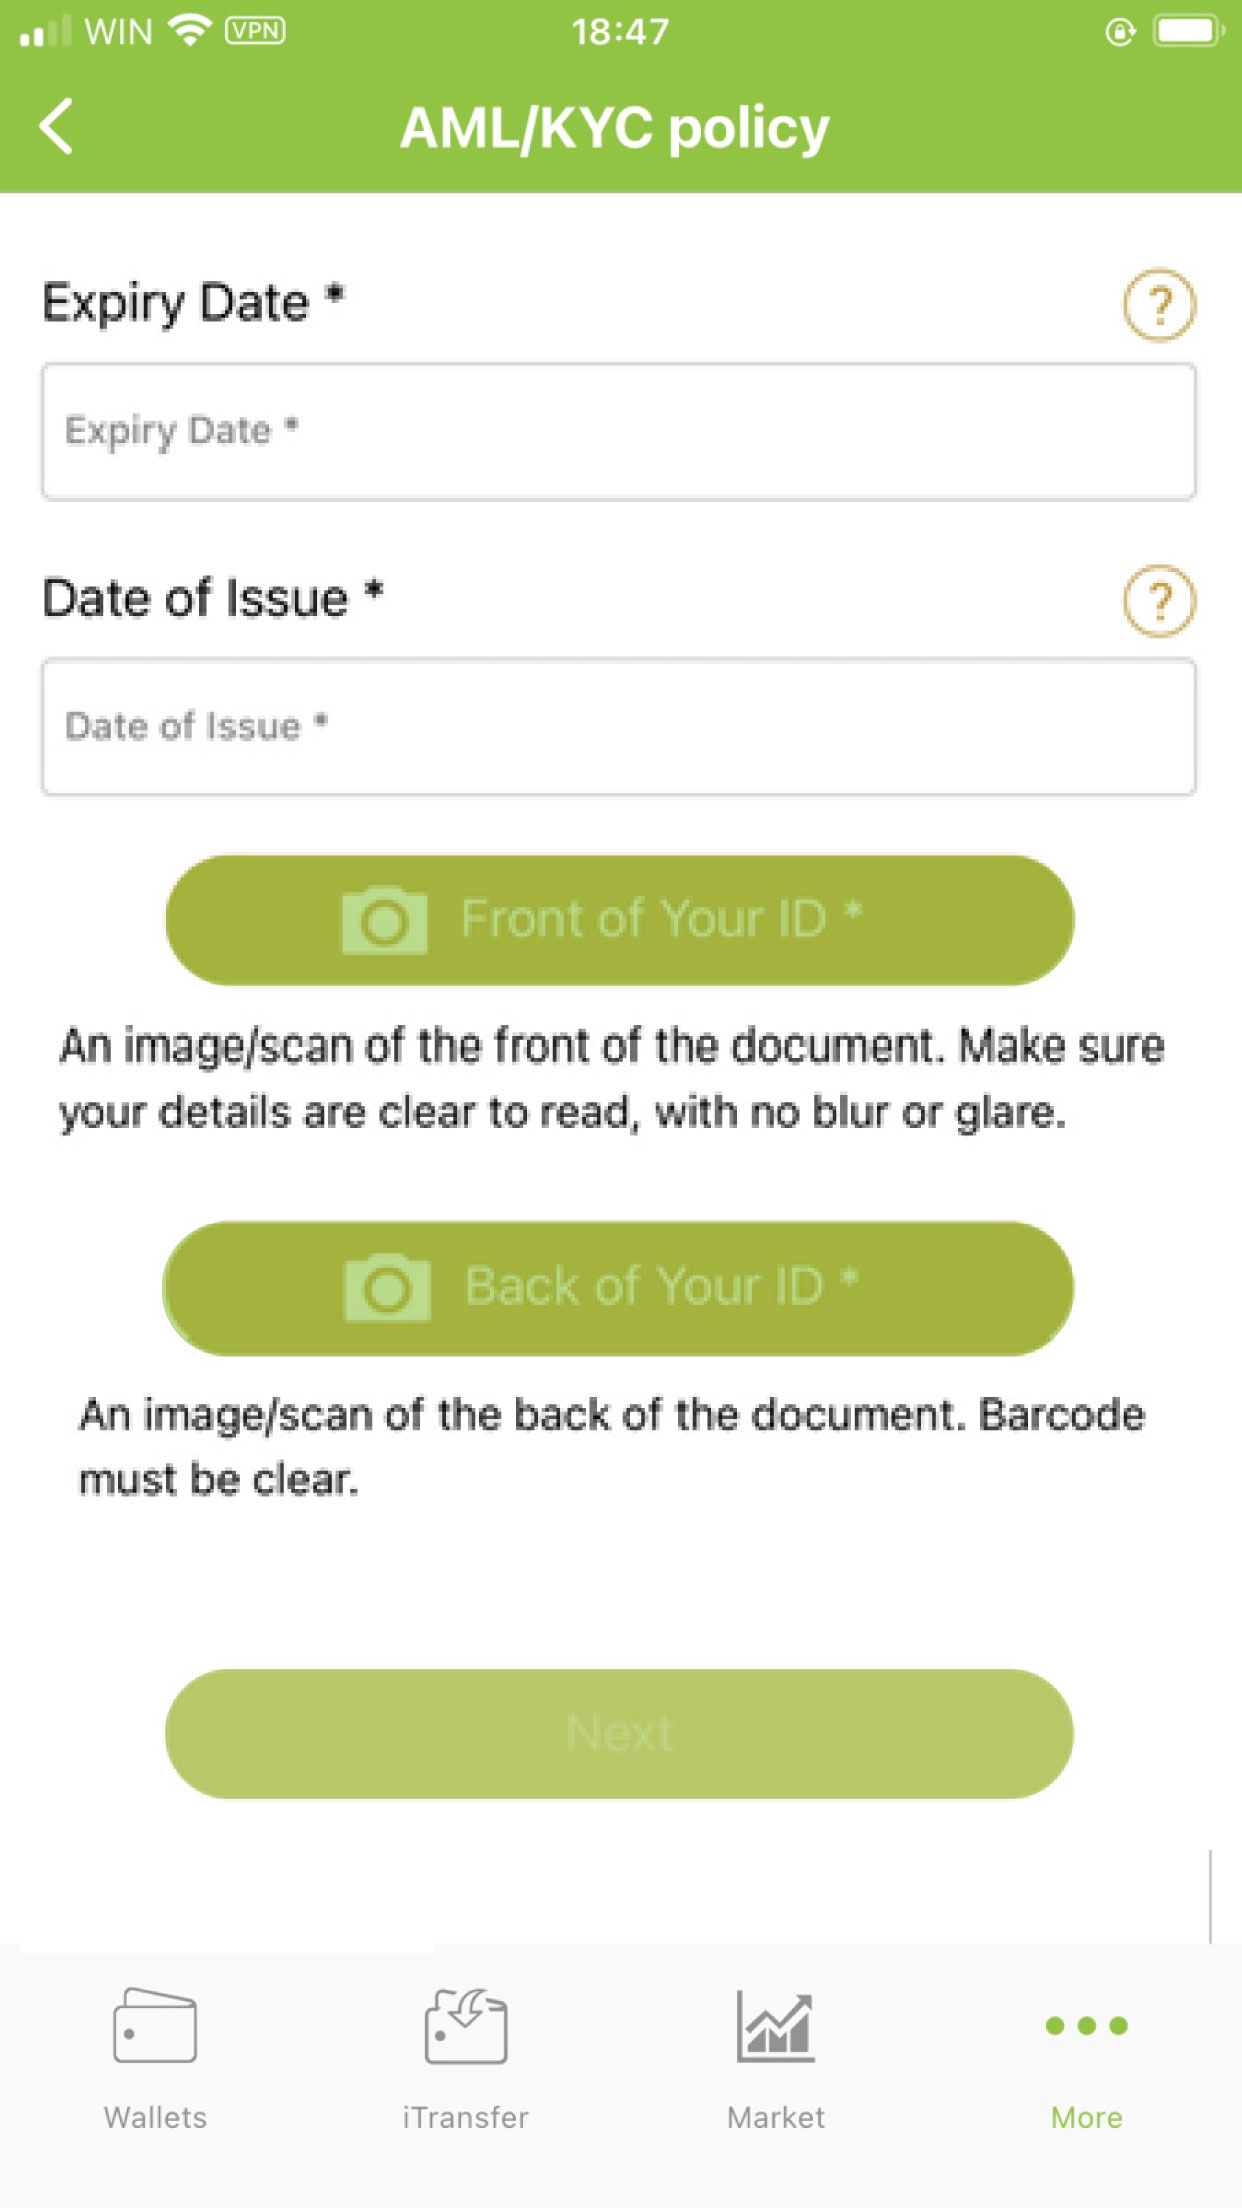
4.4 Uploading Your ID
Upload the image taken of the front part and back part of your government issued ID in the “Front of Your ID” and “Back of Your ID” sections. Make sure that if you decide to use the app to take the image, that your camera is not in 4K or 2K mode in the settings.
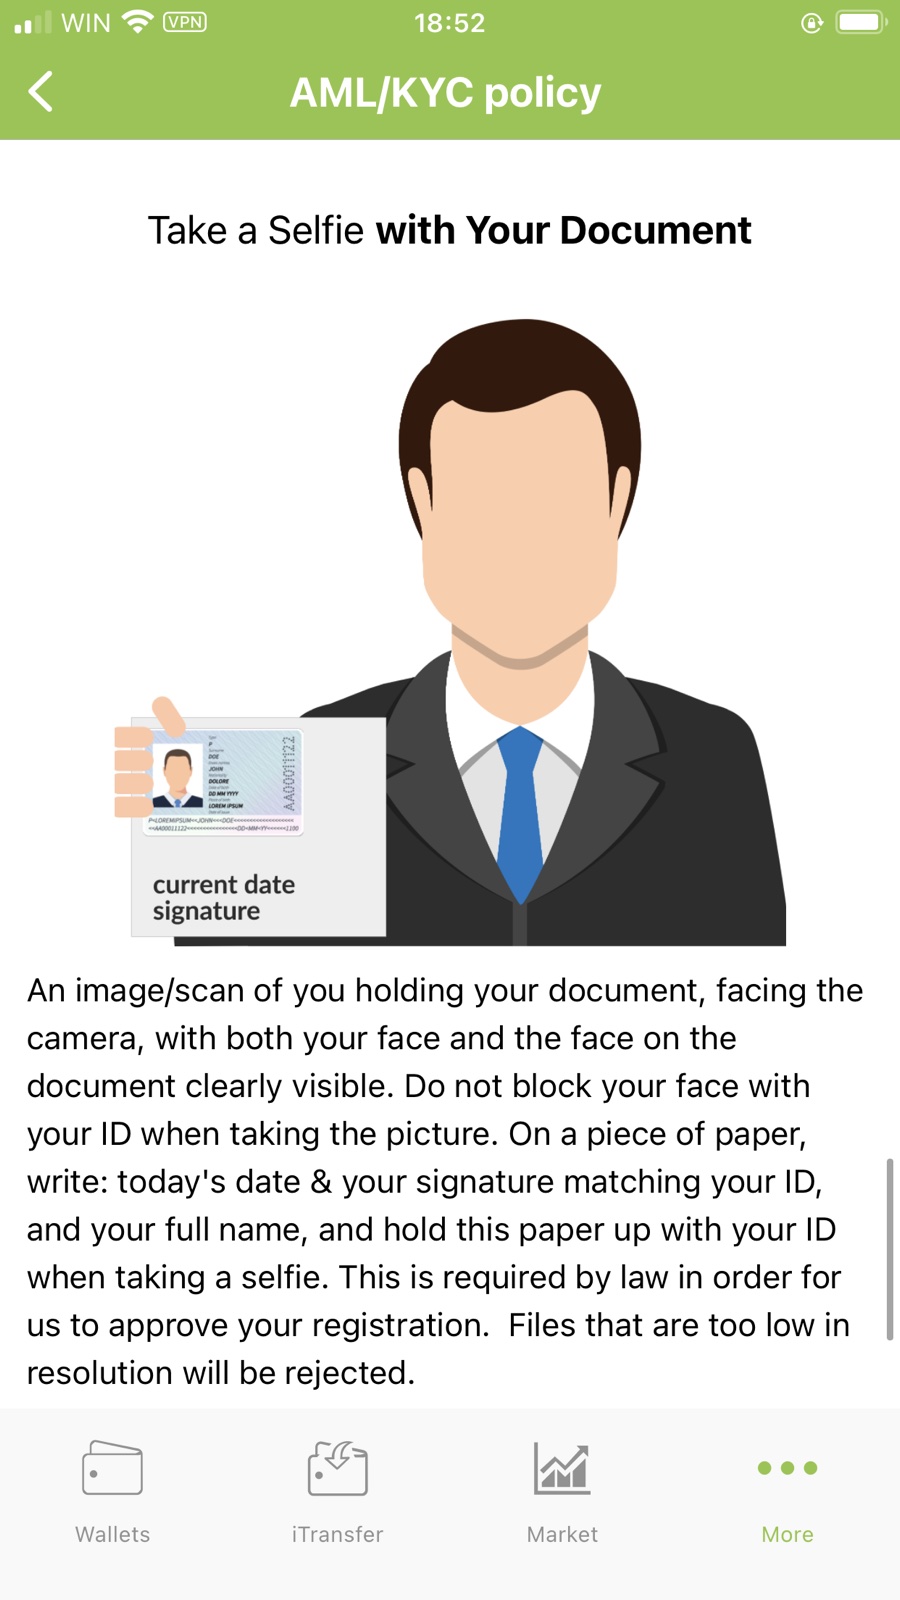
4.5 Taking a Selfie
It is required for you to take a Selfie with your document. This way, we can confirm that the person uploading is in fact you, and not someone else. Photoshopping an image is pointless as we have tools in place to catch such fraud.
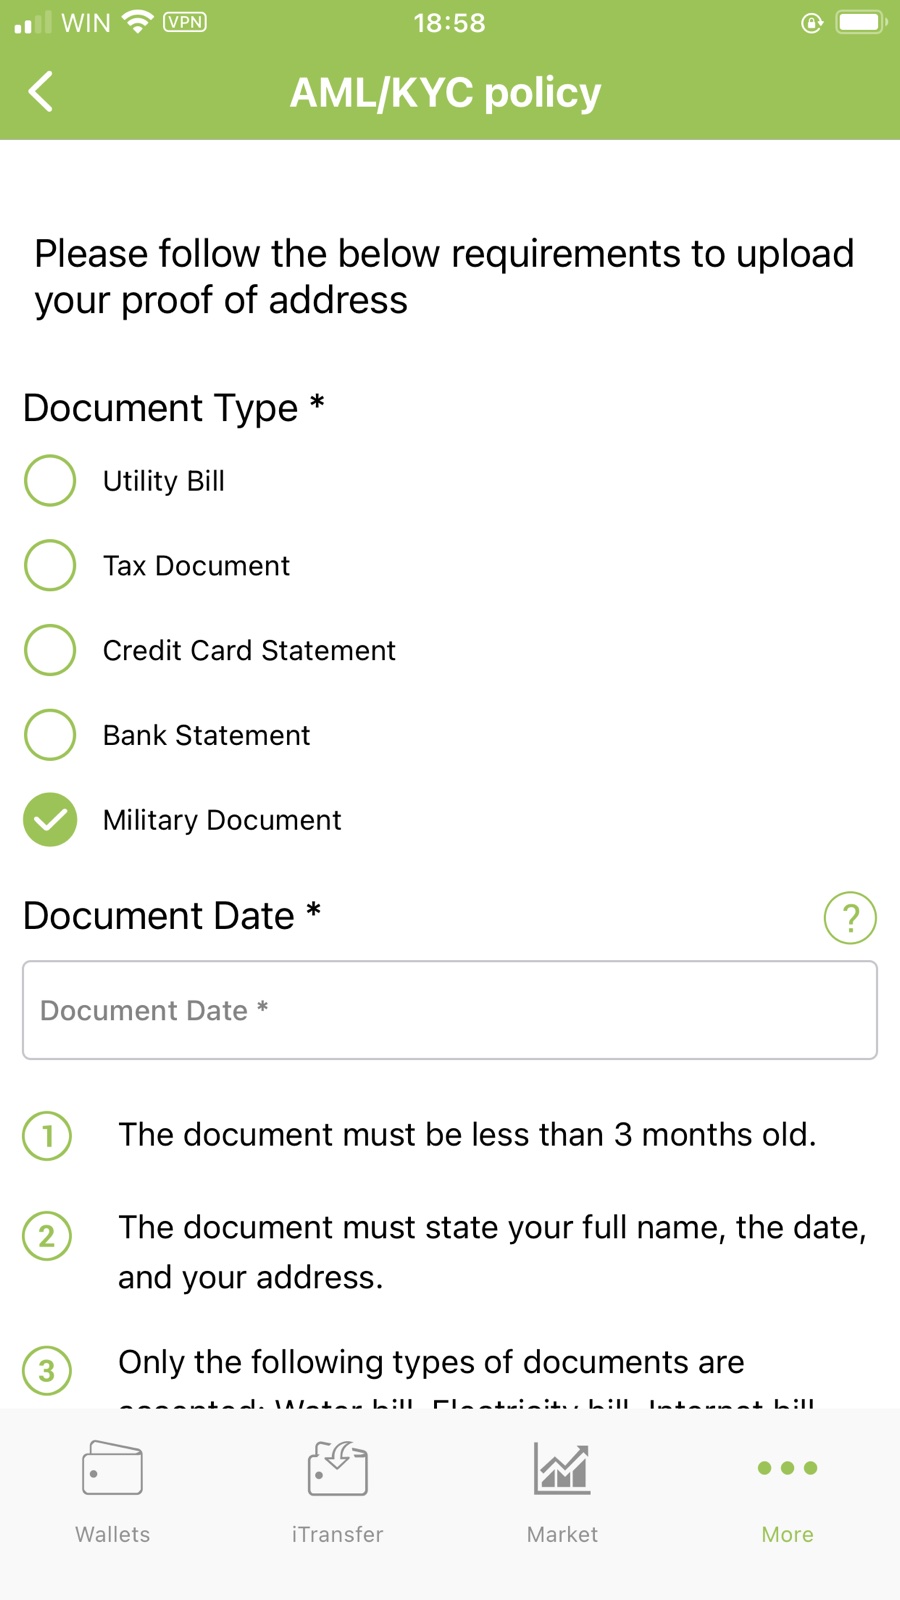
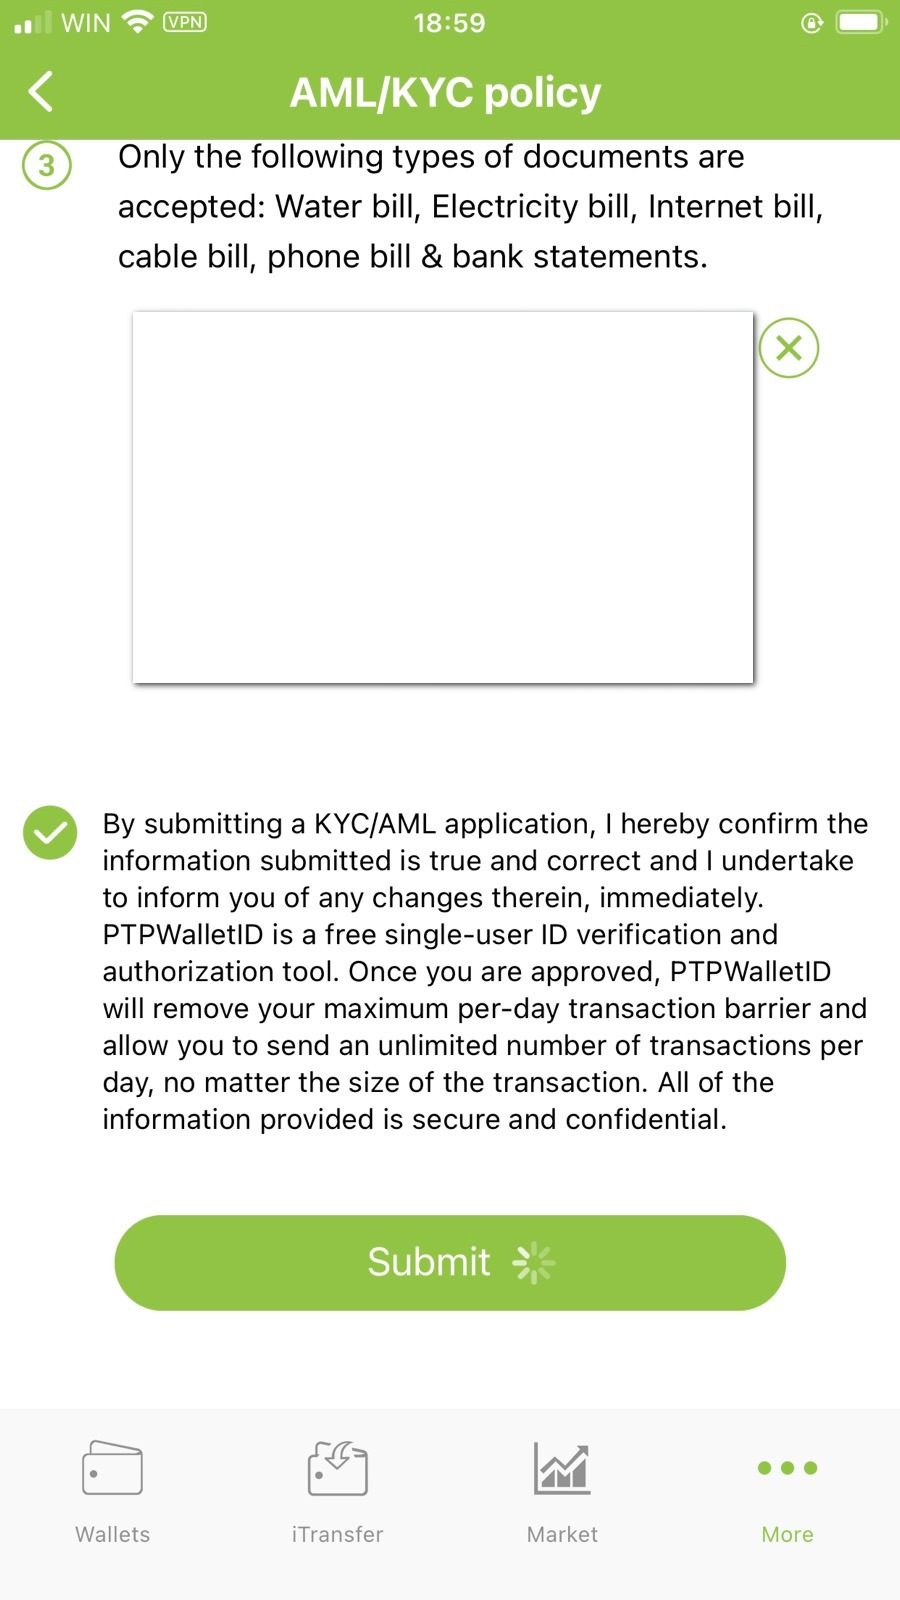
4.6 Uploading Proof of Address
Please provide a recent utility bill or bank statement as proof of address. We request documents that are no older than 3 (three) calendar months.
4.7 Submitting the Documents
Once complete, press “Submit” after check marking the text shown above the button.
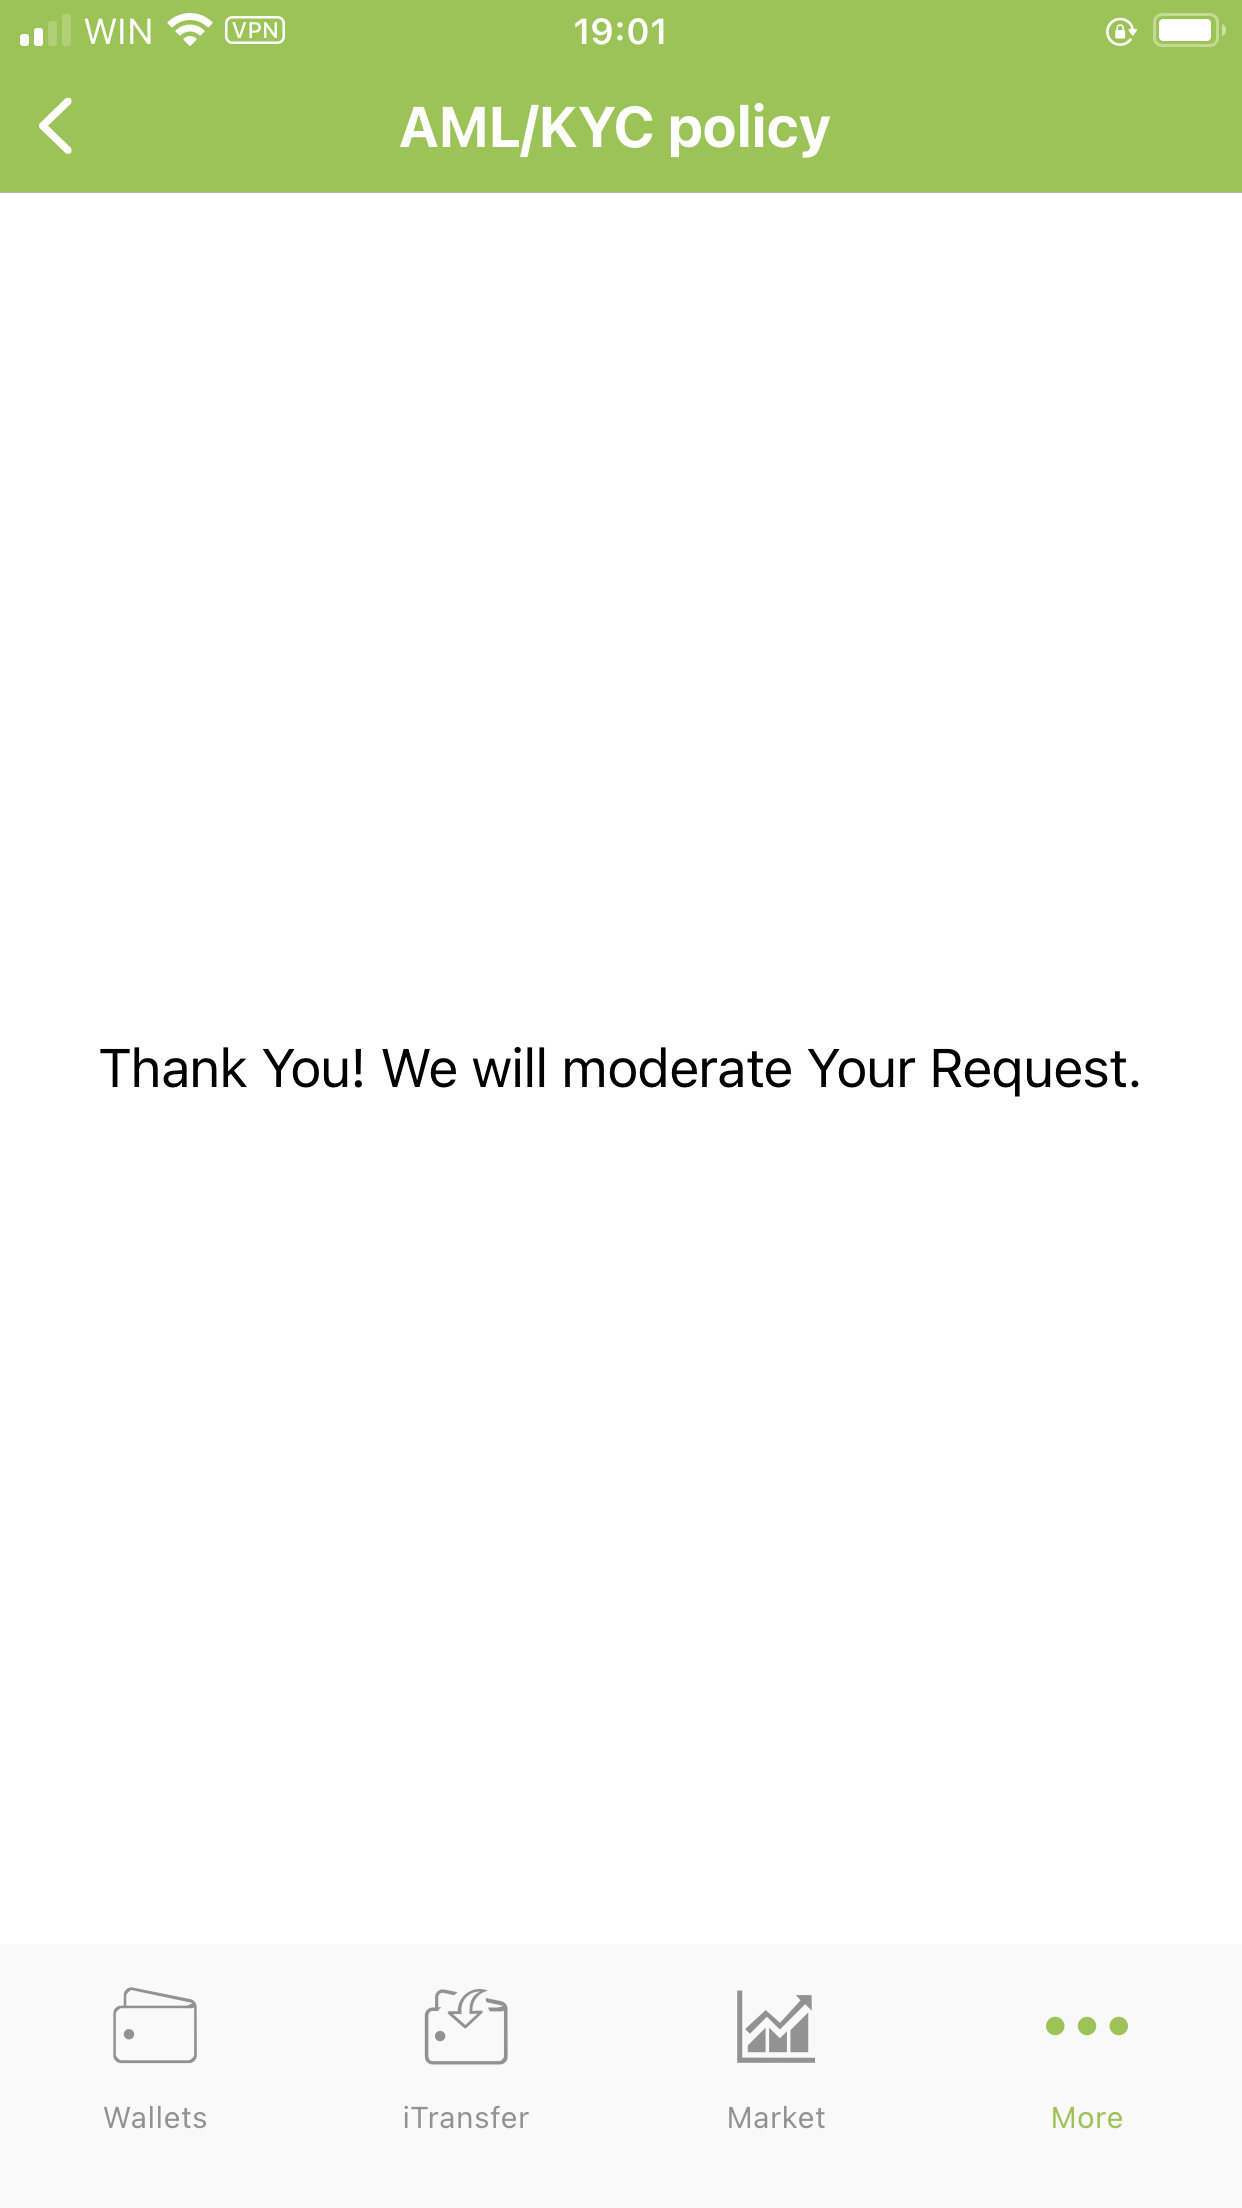
4.8 Confirming Receipt of Your KYC
If you uploaded your KYC, the best way to check if your KYC has been received is by coming back to the KYC section and seeing what text you have received. If its “Your KYC has been submitted for moderation”, this means just that – that the KYC was sent to our Compliance Officer for review. If it says “KYC has been approved”, then the KYC has been approved and you no longer have any limits to your account.
However, if after you ‘submit’ an application the form is blank, please go to the main menu, tap the KYC section and see if it requests you to submit the form again or if it reads “Your KYC has been submitted for moderation”. If a blank form is shown, then the connection did not complete because 1) the images uploaded are too large in size, or; 2) the internet connection was not stable and the KYC info was not uploaded. Please re-submit, and make sure that after you complete your form and attach the images, that you wait up to 10 seconds to confirm that the system has uploaded your images – prior to clicking “Submit”.
- The ‘More’ Menu
The ‘More’ menu can be accessed by opening the wallet, looking at the bottom menu, and taping ‘More’. There, you will see 6 (six) fields.
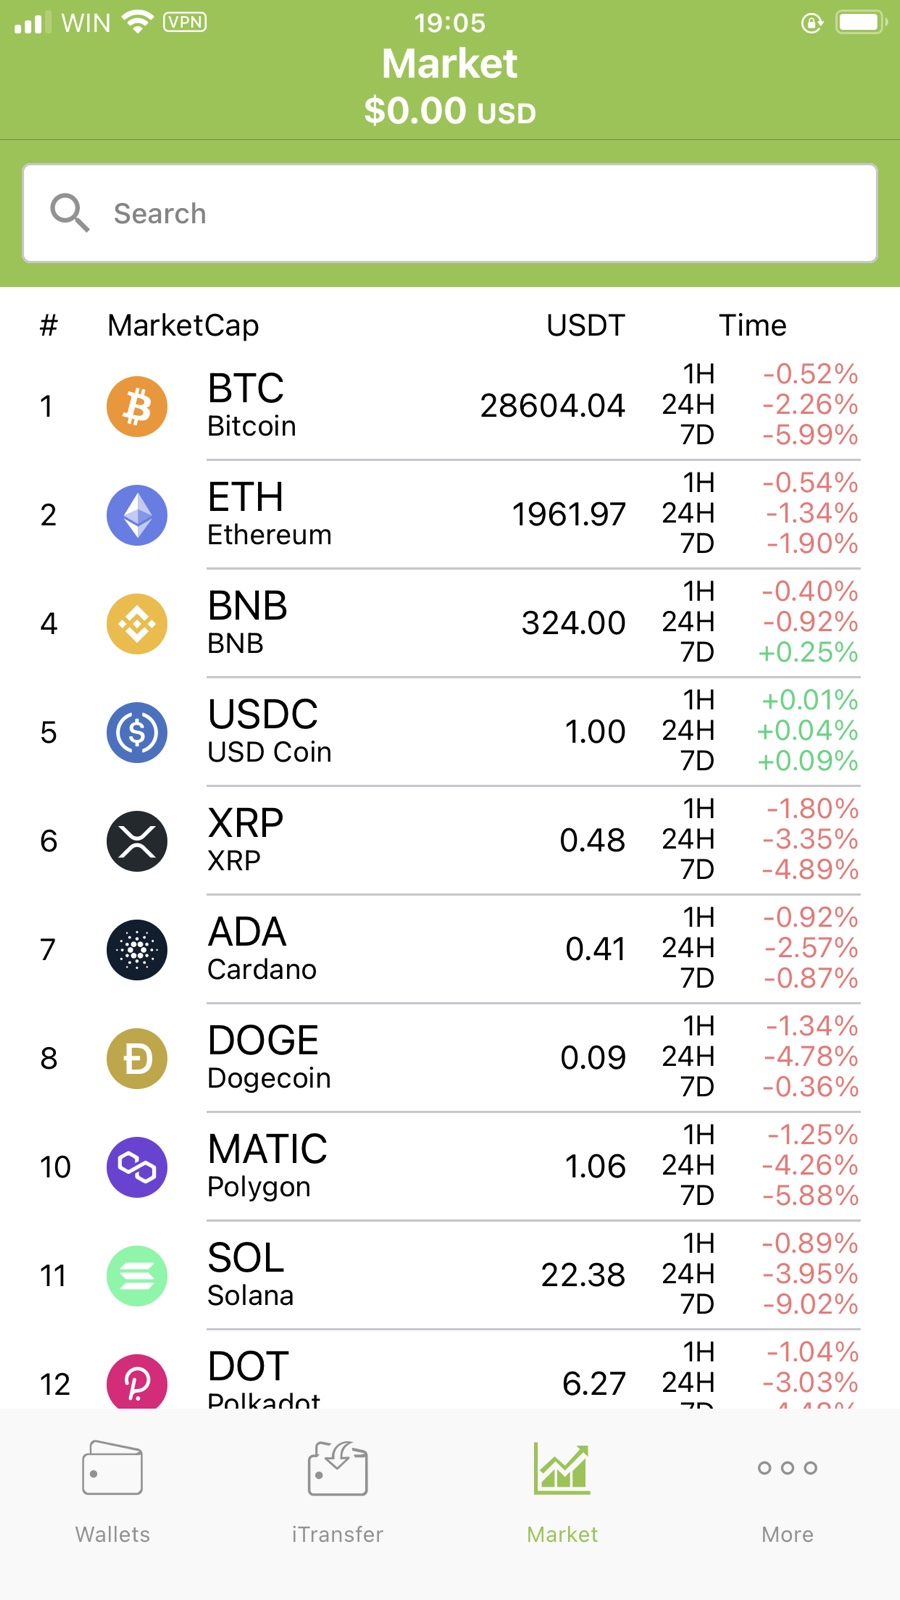
5.1 Where to Find Market
The ‘Market’ section can be found in the ‘More’ menu of the main menu. This section displays the top currencies on the market with their respective price, and the 1 hour, 24 hour, and 7 day timeframe prices. You can click on any of these currencies to see its recent price.
5.2 How to Use the Web QR Access
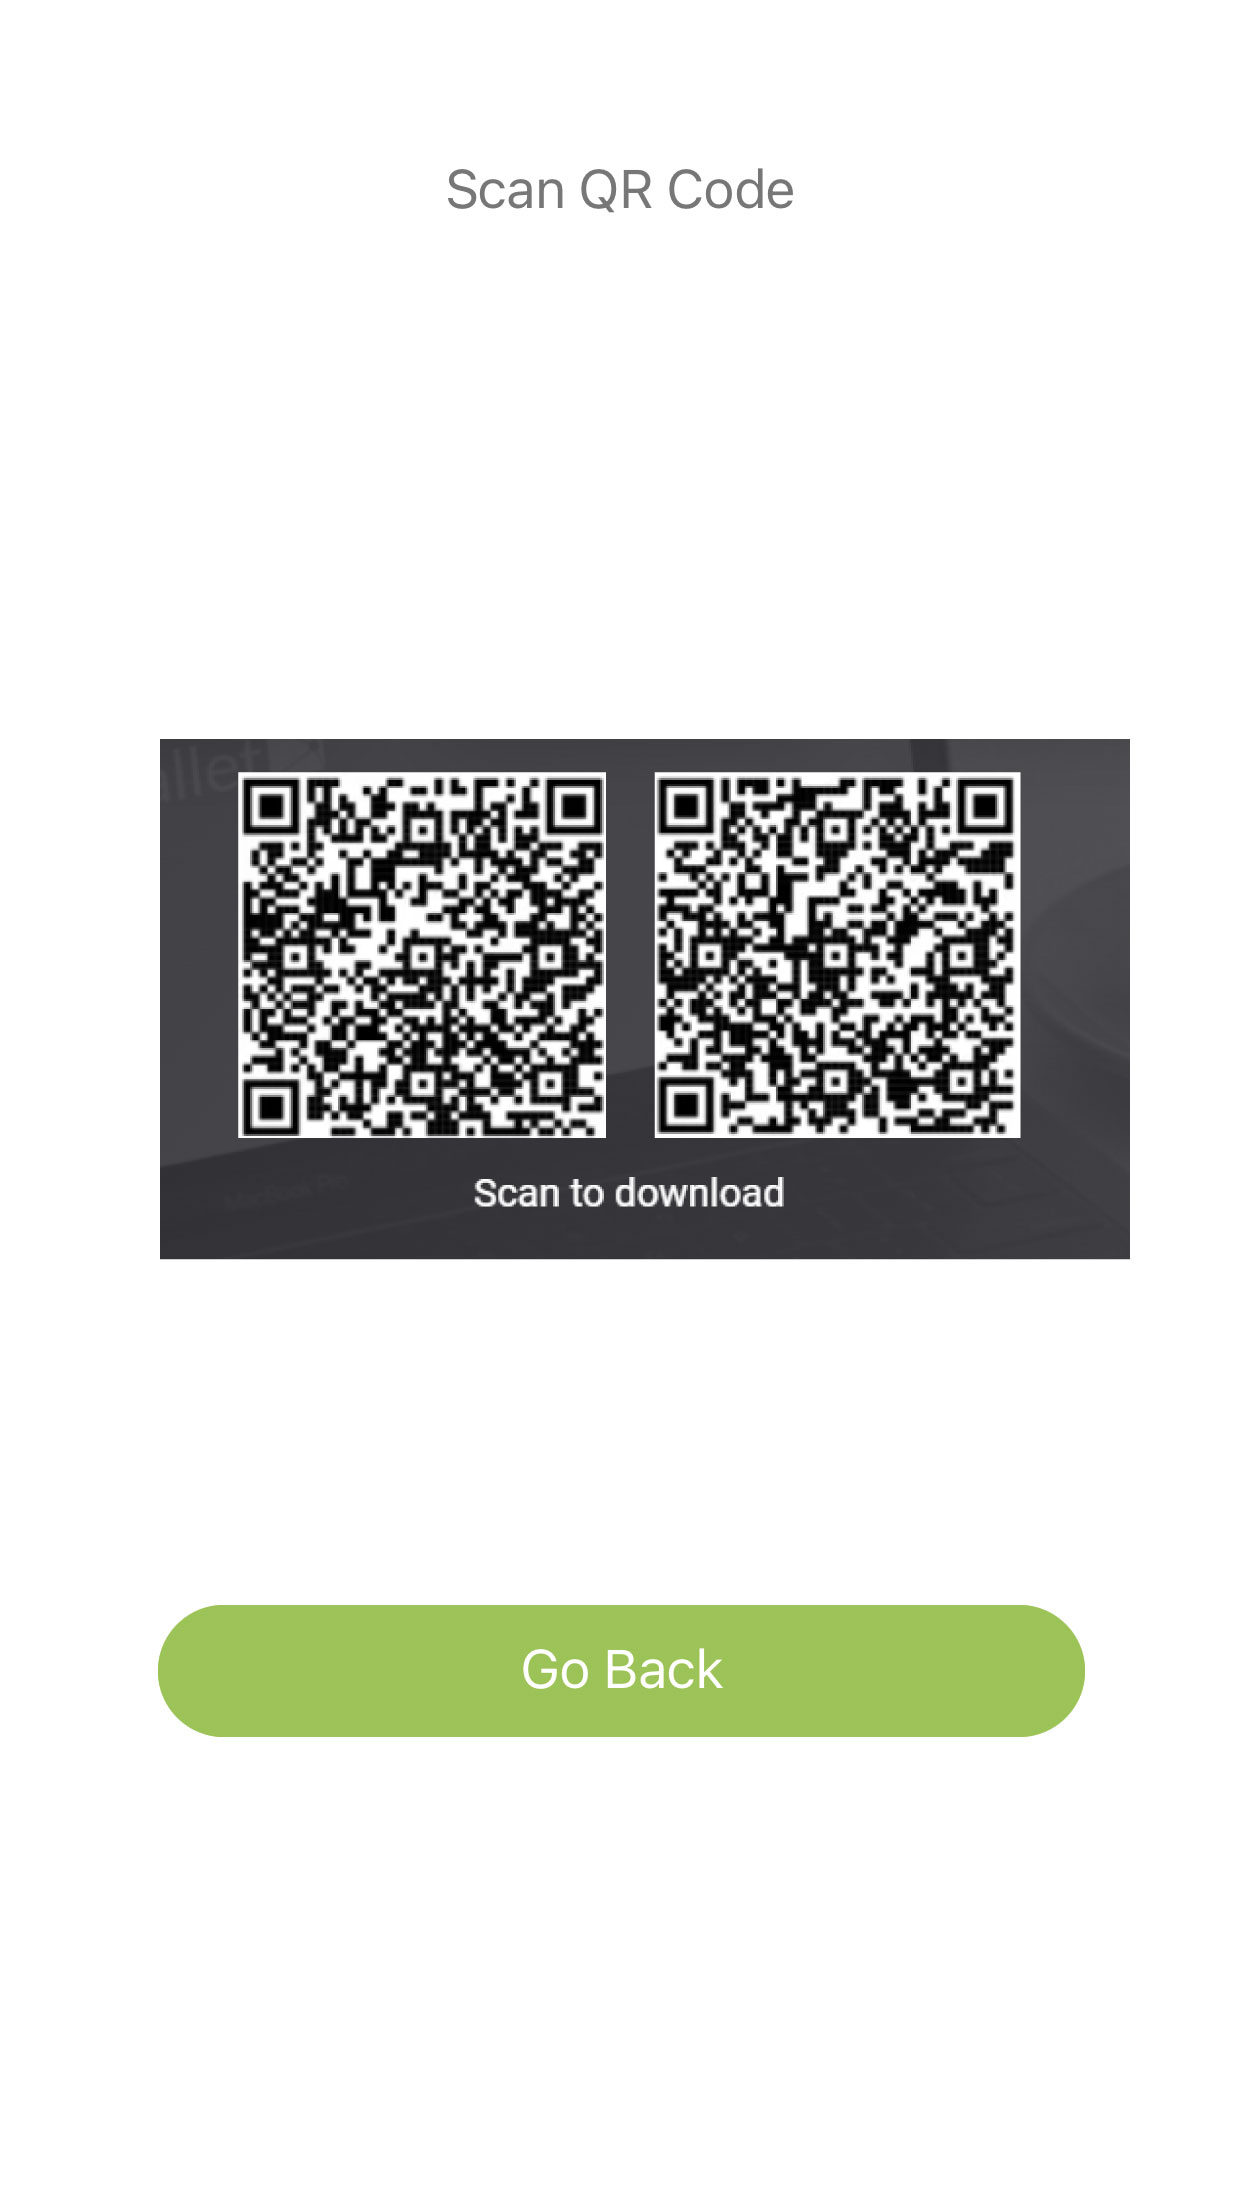
If you are looking to use the Web QR Access mode, allowing you to login to your web-based version of the PTP Wallet app (https://web.ptpwallet.com/login)the ‘Web QR Access’ section can be found in the ‘More’ menu of the main menu.
Tap on ‘Web QR Access’ and scan the QR Code displayed in the link above. Then, it will ask you to create a temporary password for your session’s security. Upon doing so, you will then have access to the web-based version of your PTP Wallet account.
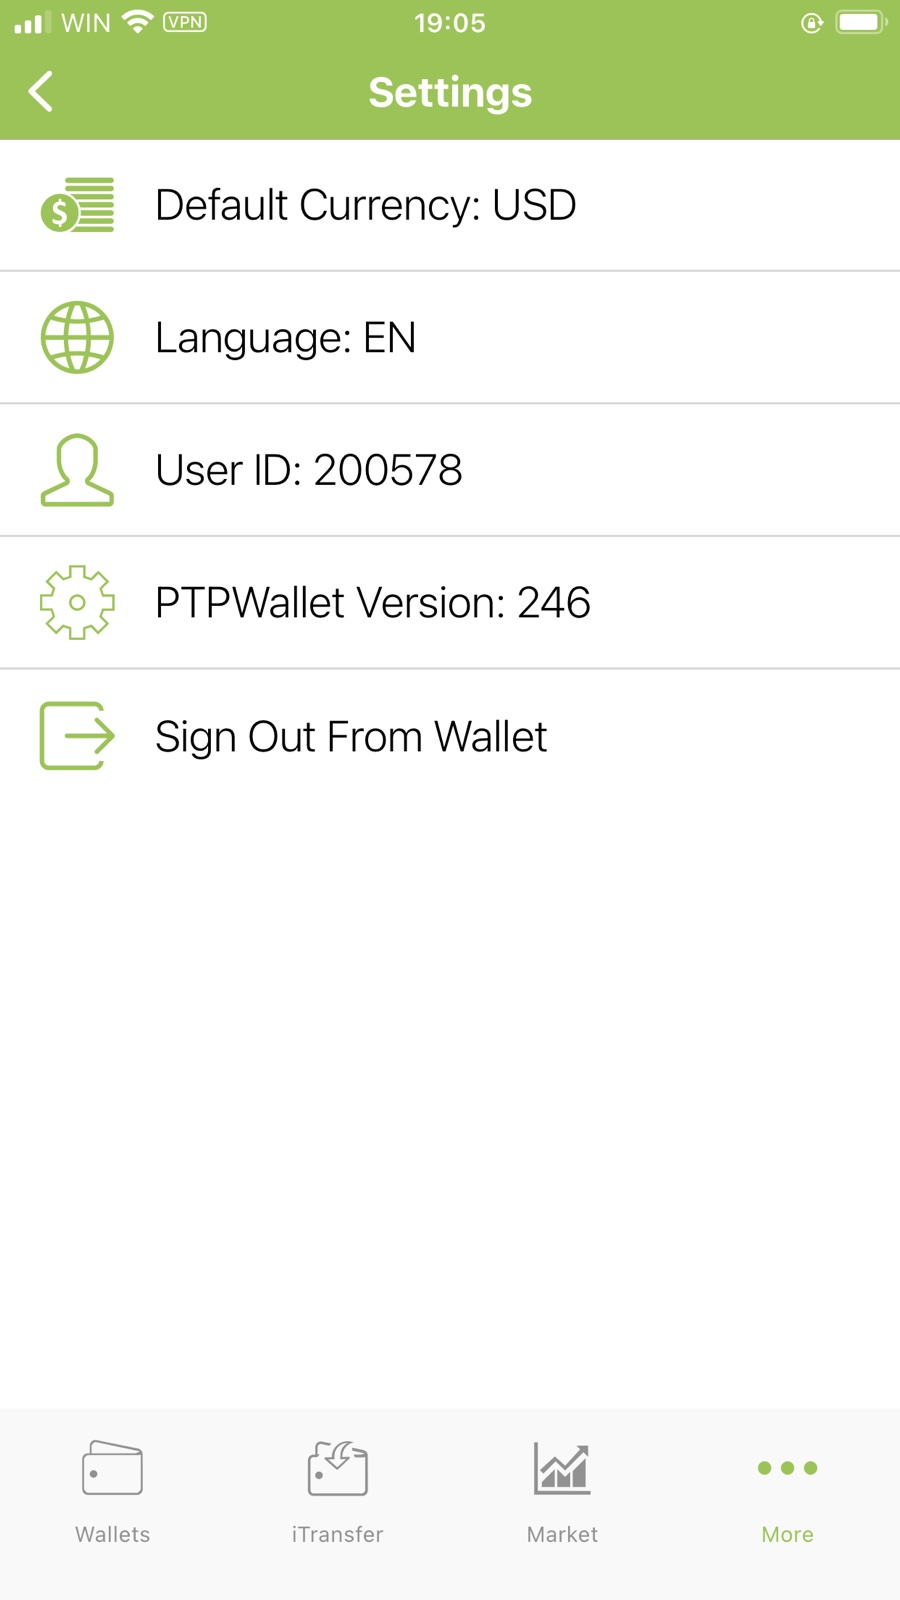
5.3 Where to Find the Settings
The App’s ‘Settings’ section can be found in the ‘More’ menu of the main menu. Tap on ‘Settings’. There, you will be able to see the default display currency (which can be changed), the Language the platform is displayed to you, it will show your User ID (required when contacting Customer Support), the version of the app, and the ability to ‘Sign Out From Wallet’.
Keep in mind that if you press ‘Sign Out From Wallet’, you will be completely signed out from your account and you will need to re-enter your original passphrases in order to access your account. Otherwise, just click the homescreen button on your smartphone in order to close the app without signing you out. Every time that app is opened, it will ask you to enter your PIN Code. This is done for security reasons.
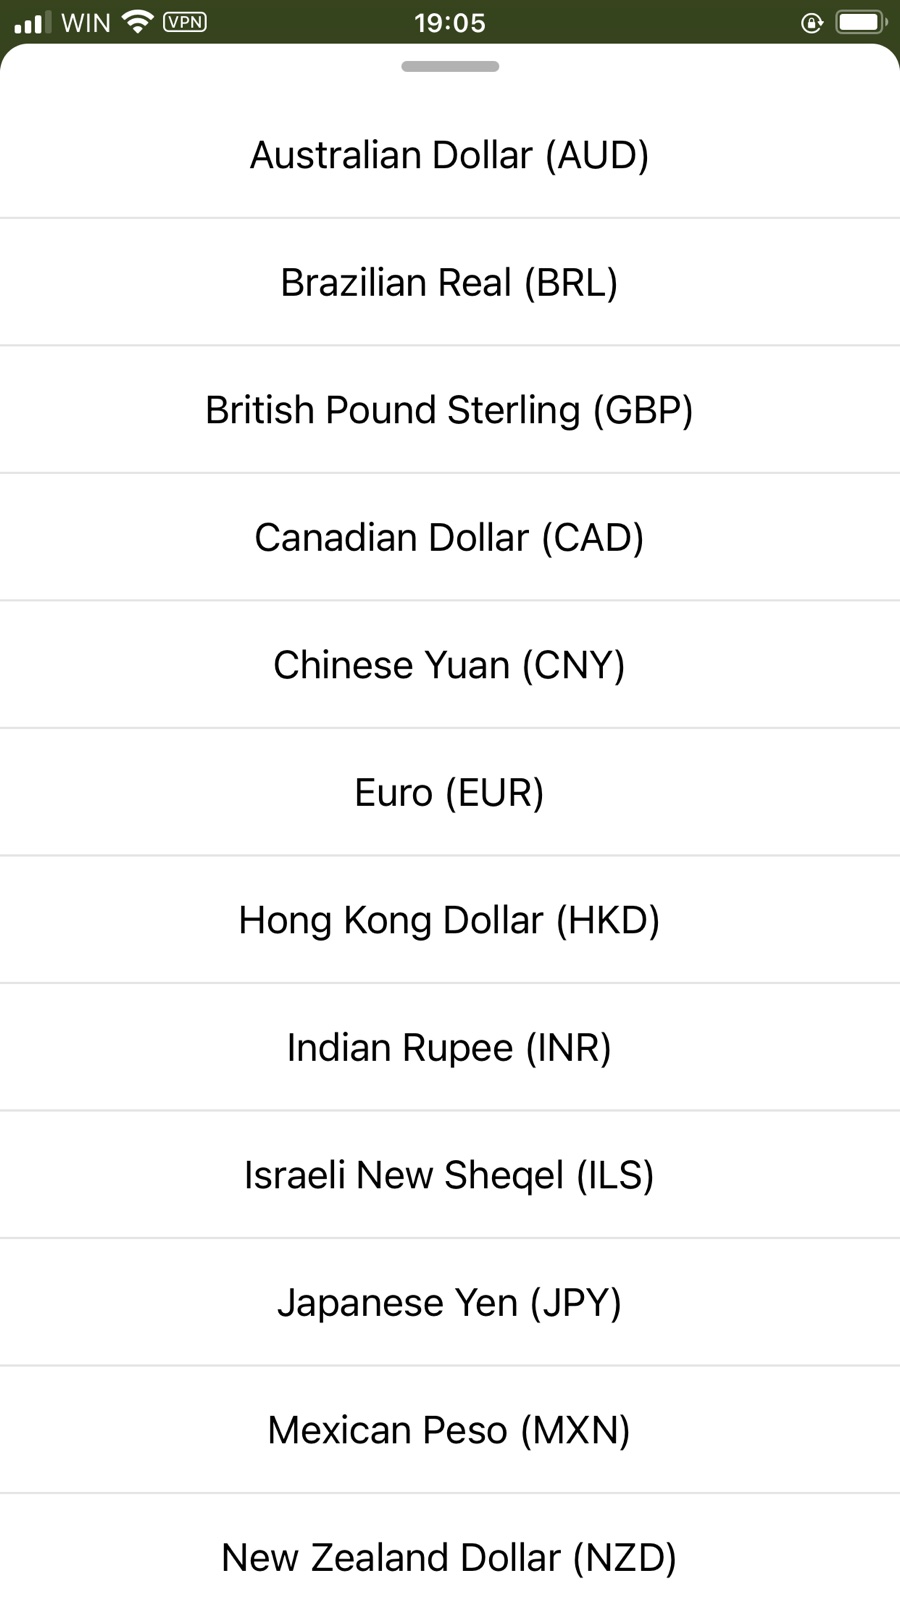
5.3.1 Changing the Default Currency
If you want to change the default currency, select ‘Default Currency: USD’ and then select the currency you want the platform to show you.
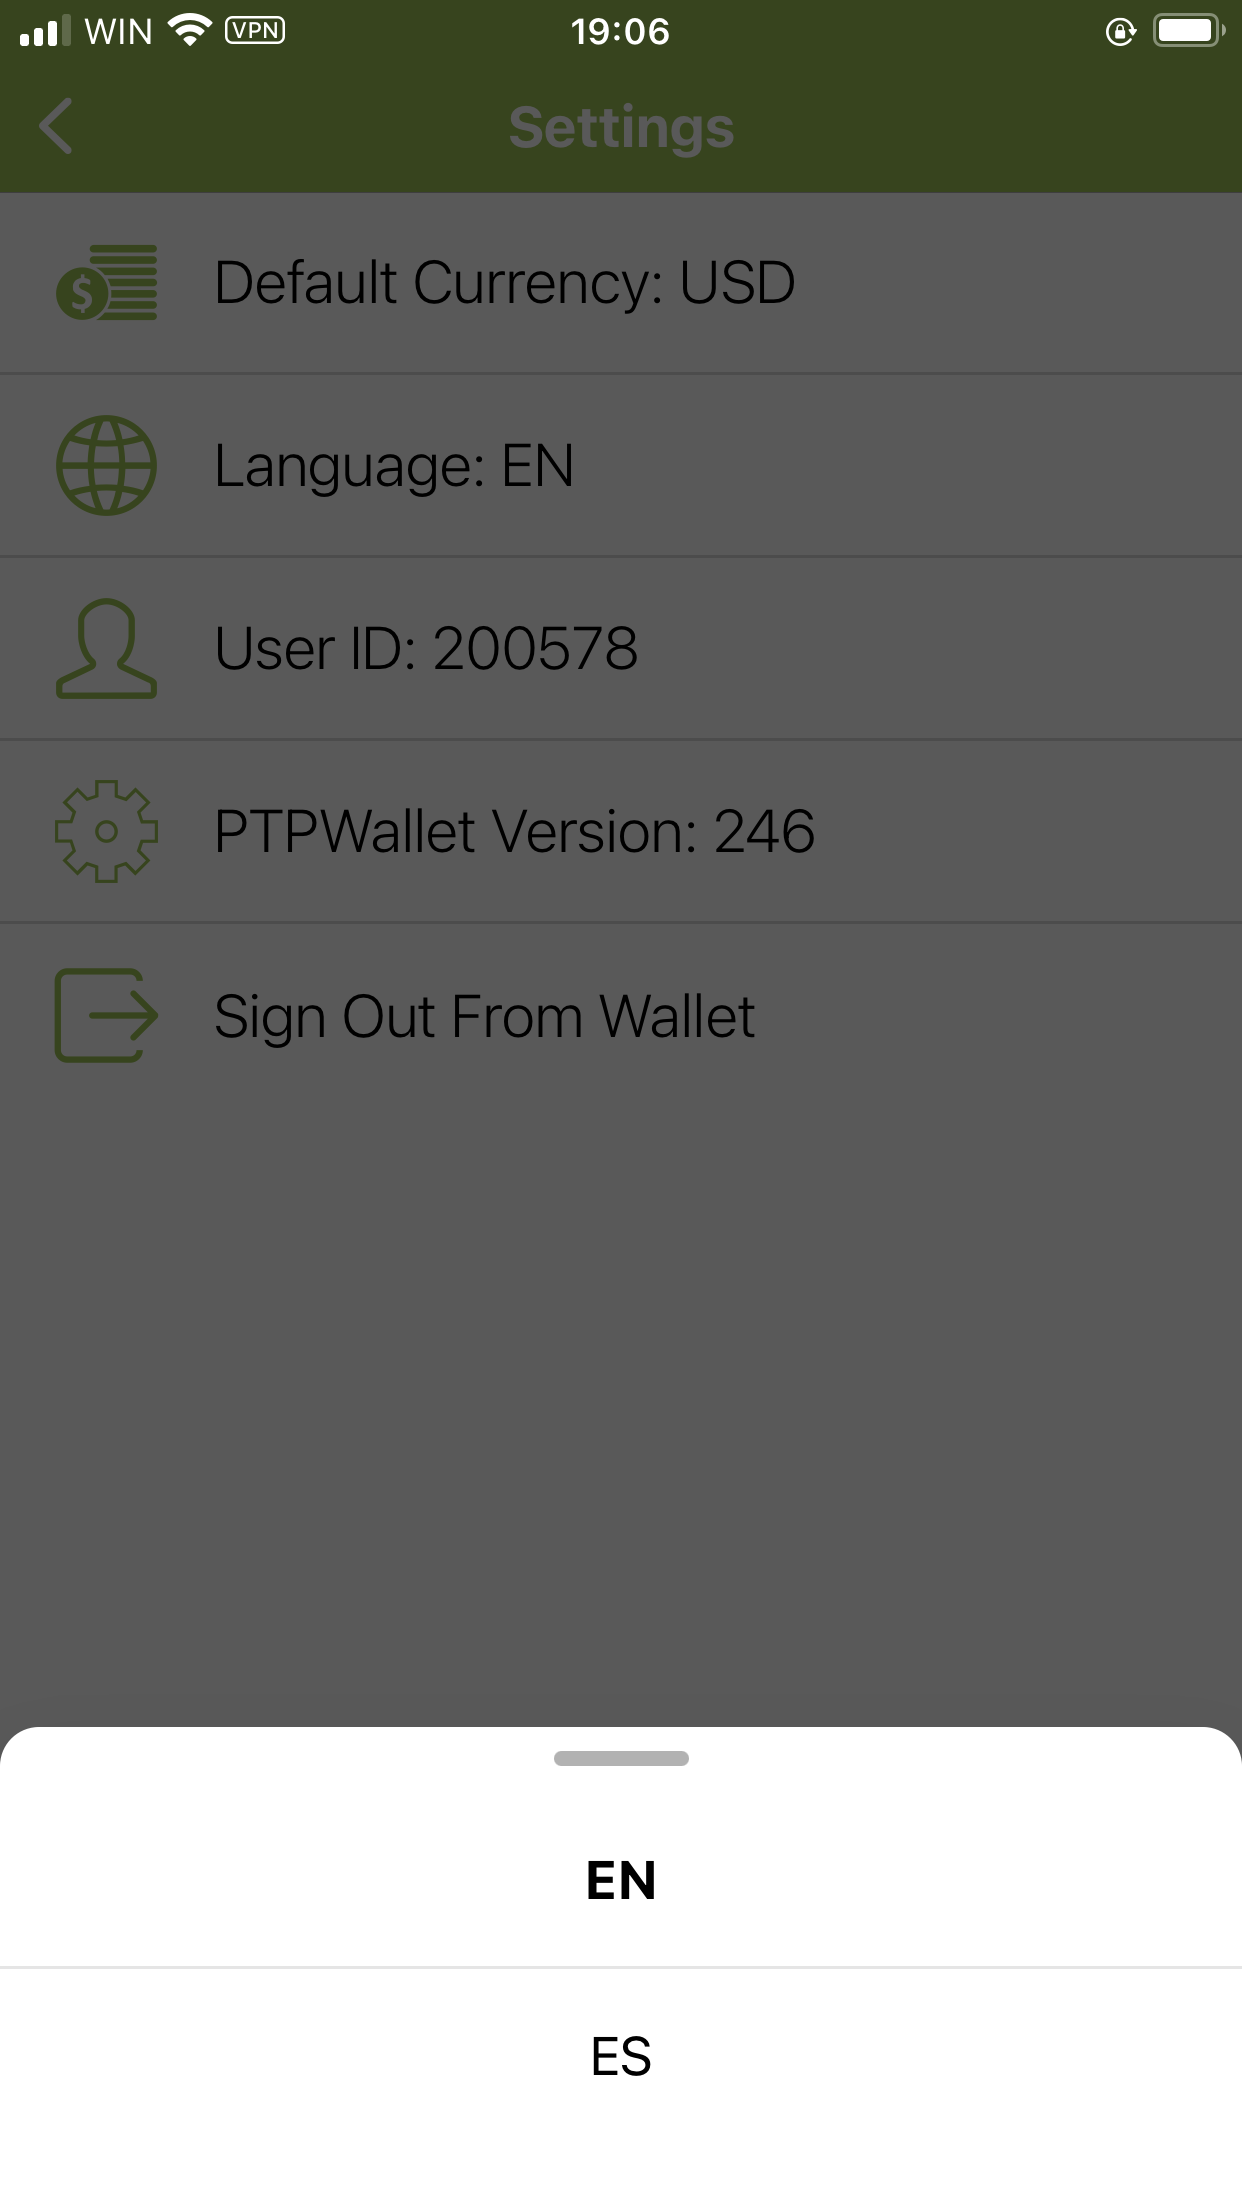
5.3.2 How to Change the Platform’s Language
If you want to change the language of the platform, select ‘Language: EN’ and then select the language you want the platform to show you. At this time, only Spanish is available as a second language.
5.3.3 Signing Out From Wallet
As mentioned in this guide already, by pressing ‘Sign Out From Wallet’, you will be completely signed out from your account and you will need to re-enter your original passphrases in order to access your account. If you just want to close the app, click the homescreen button on your smartphone in order to close the app without signing you out.
Every time that app is opened, it will ask you to enter your PIN Code. This is done for security reasons.

5.4 Accessing the Customer Support Page
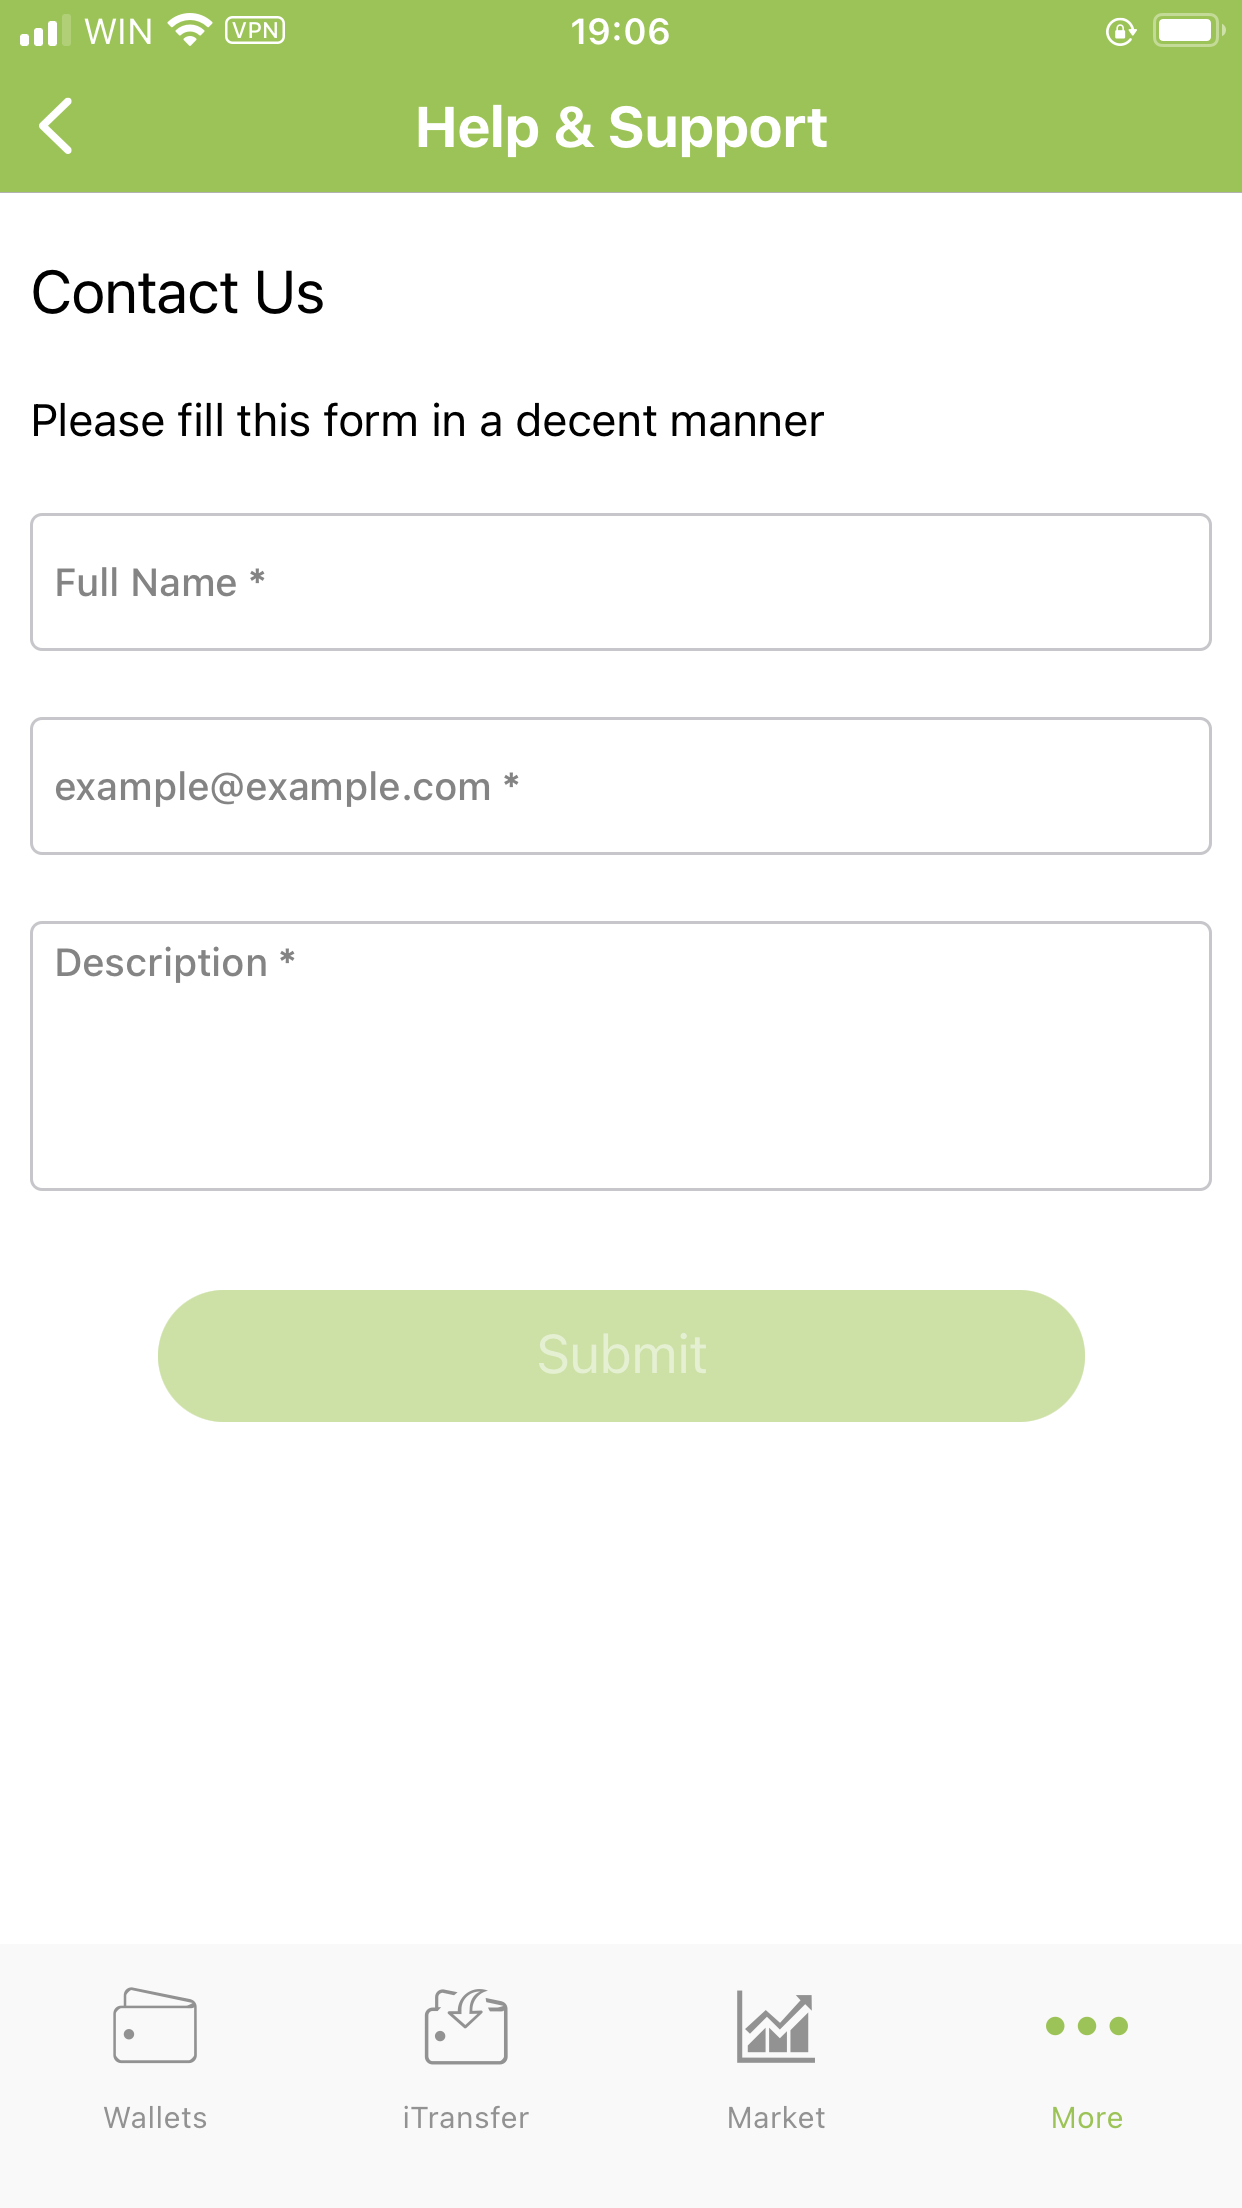
This “Support” menu is where you go to if you have a question or need any kind of assistance. We do our best to answer any submissions as quickly as we can. Usual response times are between 6 hours to 24 hours from date of submission, depending on time of submission and the queue. If its during the weekend, then the response time may be slightly longer.
In the image attached, it can be seen that the user is requested to enter their Full Name, their email address (to which the support ticket will be tied too), and provide a detailed explanation of the problem they are experiencing. Our customer support team will then respond as soon as possible with assistance.